Specular Map Generation
Although Laigter is focused on generating normal maps for 2D sprites, as those are the most used maps for dynamic lighting in 2D, with the time, other map generations where added. One of them is Specular Map Generation.
Introduction
Specular maps are a lot simpler to understand than normal maps. Specular lighting is based on reflective properties on material, and the angle of observation. When light hits a surface, if it’s reflective, the light will bounce in the opposite angle from the normal vector. Some amount of this reflected light will reach the observer’s eye. But for specular lighting to work in a shader or engine, we need to tell it how much reflective a surface is.
So, similarly than with normal maps, we store the reflectiveness in a texture. In this case is easier, as we only need to store one parameter. So we can make a grayscale image, where lighter colors mean more reflective, and darker colors mean less reflective.
Laigter automatically generates a normal map based on the sprite, and lets you tweak it with some simple controls. Most of them are the usual effects of image processing software.
Note
For testing the following explanations, please change the view mode to Specular Map. Also note, you have to change to the Specular dock widget to access the controls being explained in this document.
Bright Control
This slider just adds a constant amount to each pixel value. If the slider value is 0, the image will remain the same as the original. Is the value is positive, the image will become lighter, and if it is negative, it will become darker.
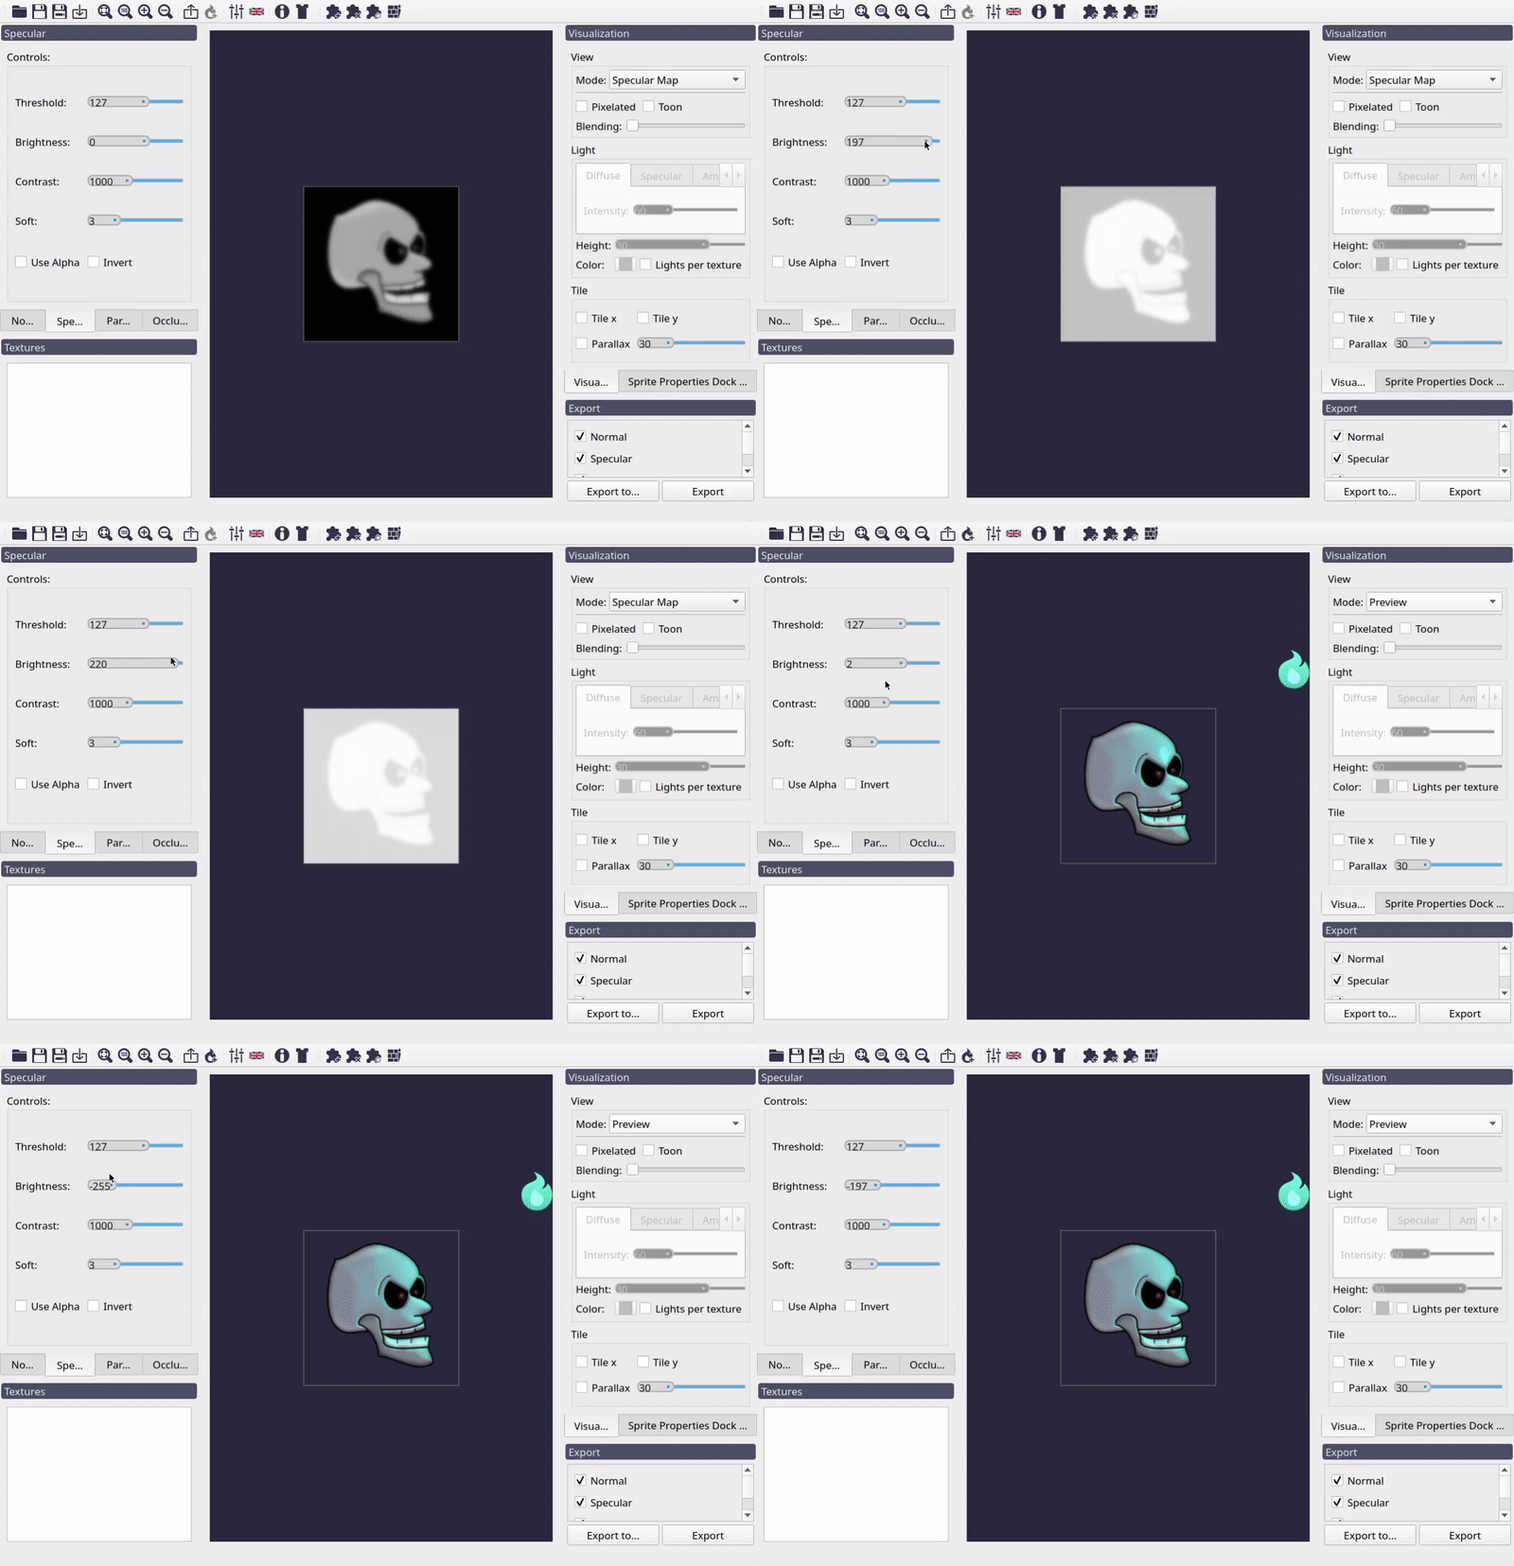
Effect of Bright control on specular map.
Note
The effect of the specular lighting is that brighter spots you can see in the above figure, at the top right of the head. Specular lighting depends on view direction, which in 2D is usually fixed from the center of the screen.
Contrast Control
This slider multiplies the color of each pixel by a value, to increase or decrease the difference between light and dark colors in the image. This way, rising the value will make lighter pixels even lighter, and darker pixels even darker. Lowering it will make them more similar, until getting a full gray image at 0 contrast.
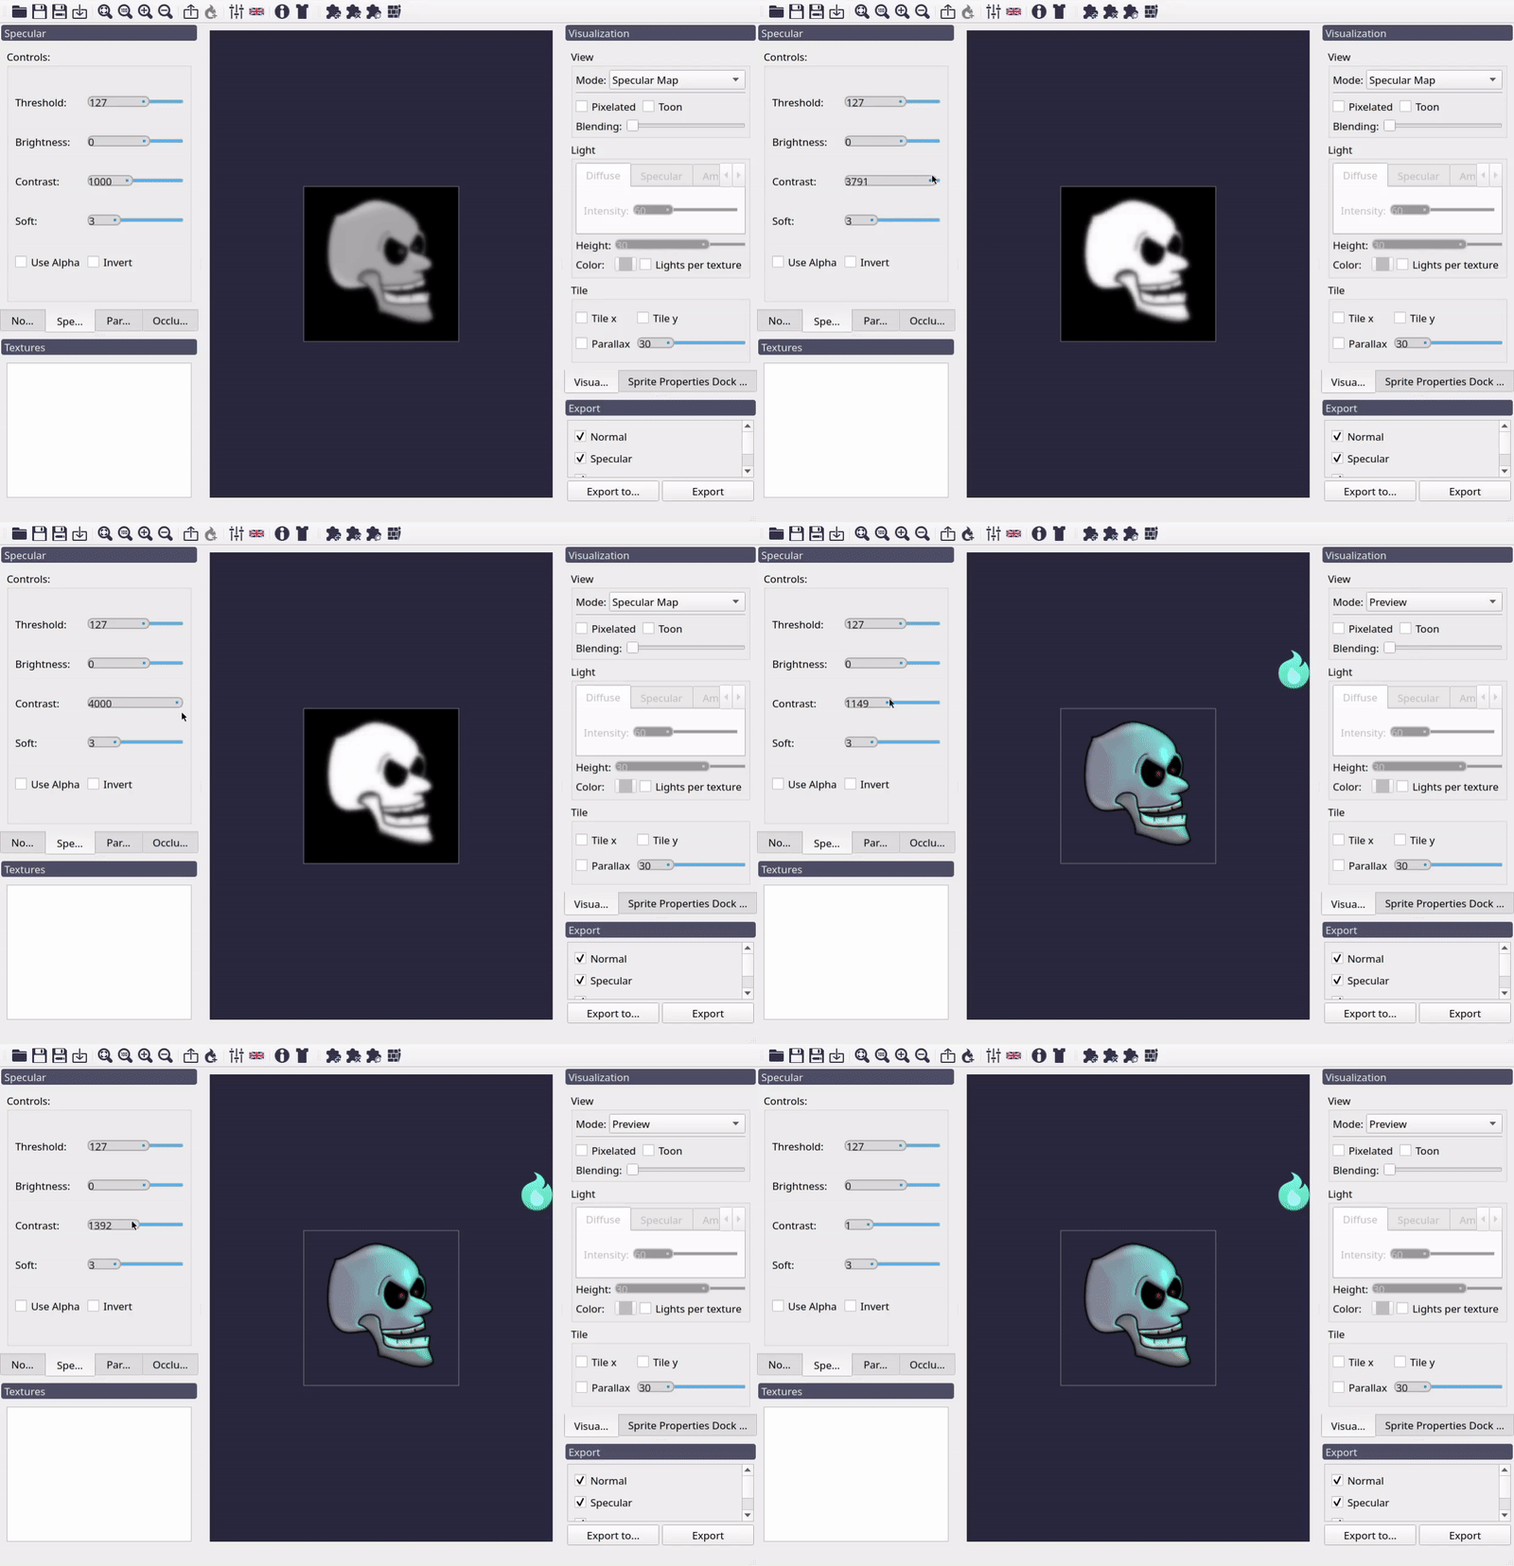
Effect of Contrast control on specular map.
Threshold Control
Contrast control reduce or increase the difference between light and dark pixels. But how do we decide which pixels are considered dark and which considered light, depends on the Threshold value. Usually, the threshold is 127 (the middle between 0 and 255 approximately). In Laigter you can change this value, to apply the formula from other reference values.
Let’s assume in the previous example, you just want the teeth of the head to have specular bright. Modifying Bright control won’t work, because it makes the whole texture reflectiveness change. Modifying Contrast alone won’t work either, as teeth and head colors are too similar. You can change then the threshold until you see teeth remain in a lighter color, while de rest gets darker.
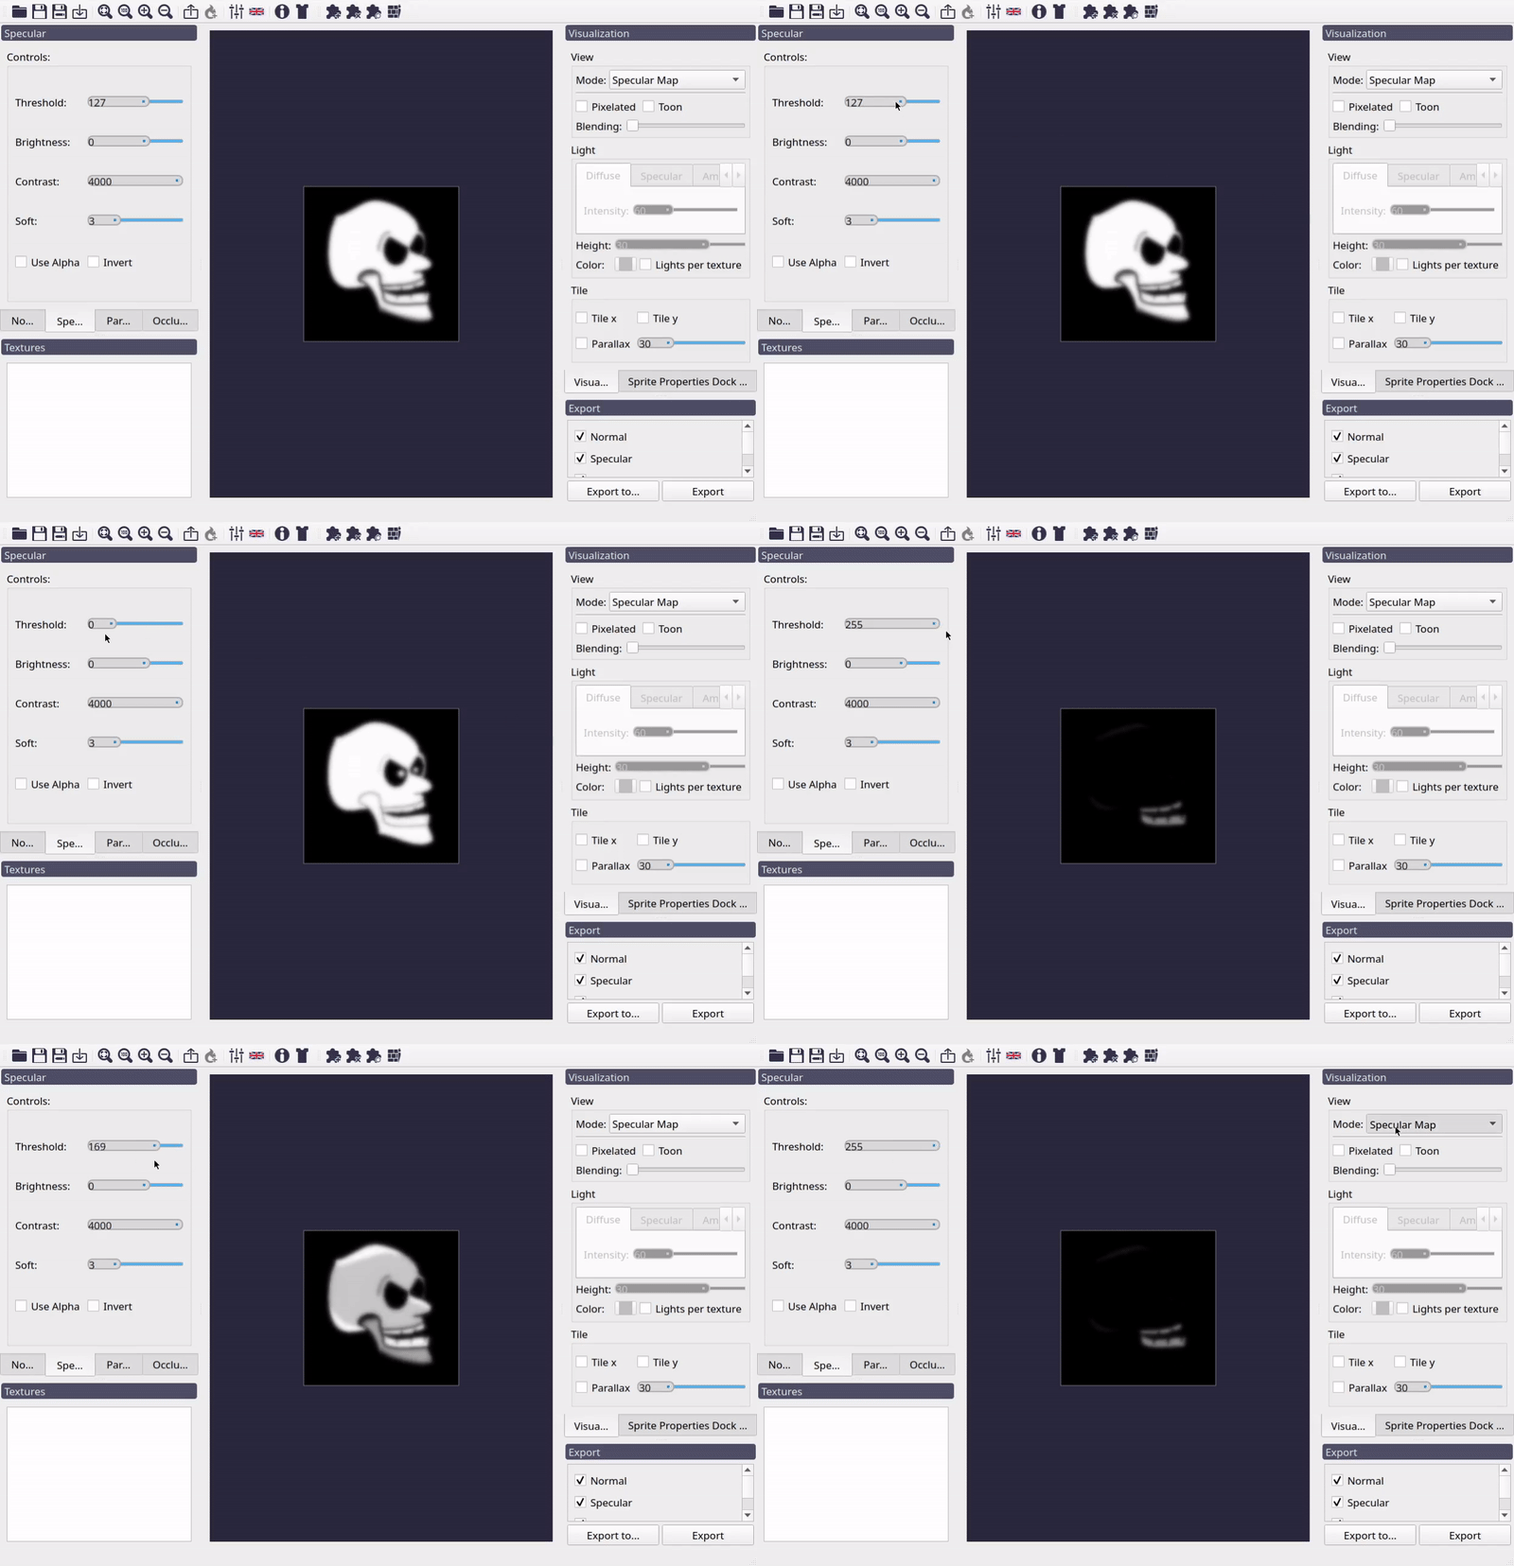
Effect of Threshold control on specular map.
Warning
This technique is quite limited and will only give good results in some cases. If you need to customize the specular map, it’s better to use a brush plugin, or loading a custom specular base from start (to be discussed later on this document).
Soft Control
As in Normal Map, this control just adds some blur to the image. The higher the value, the more blurry the specular map will become.
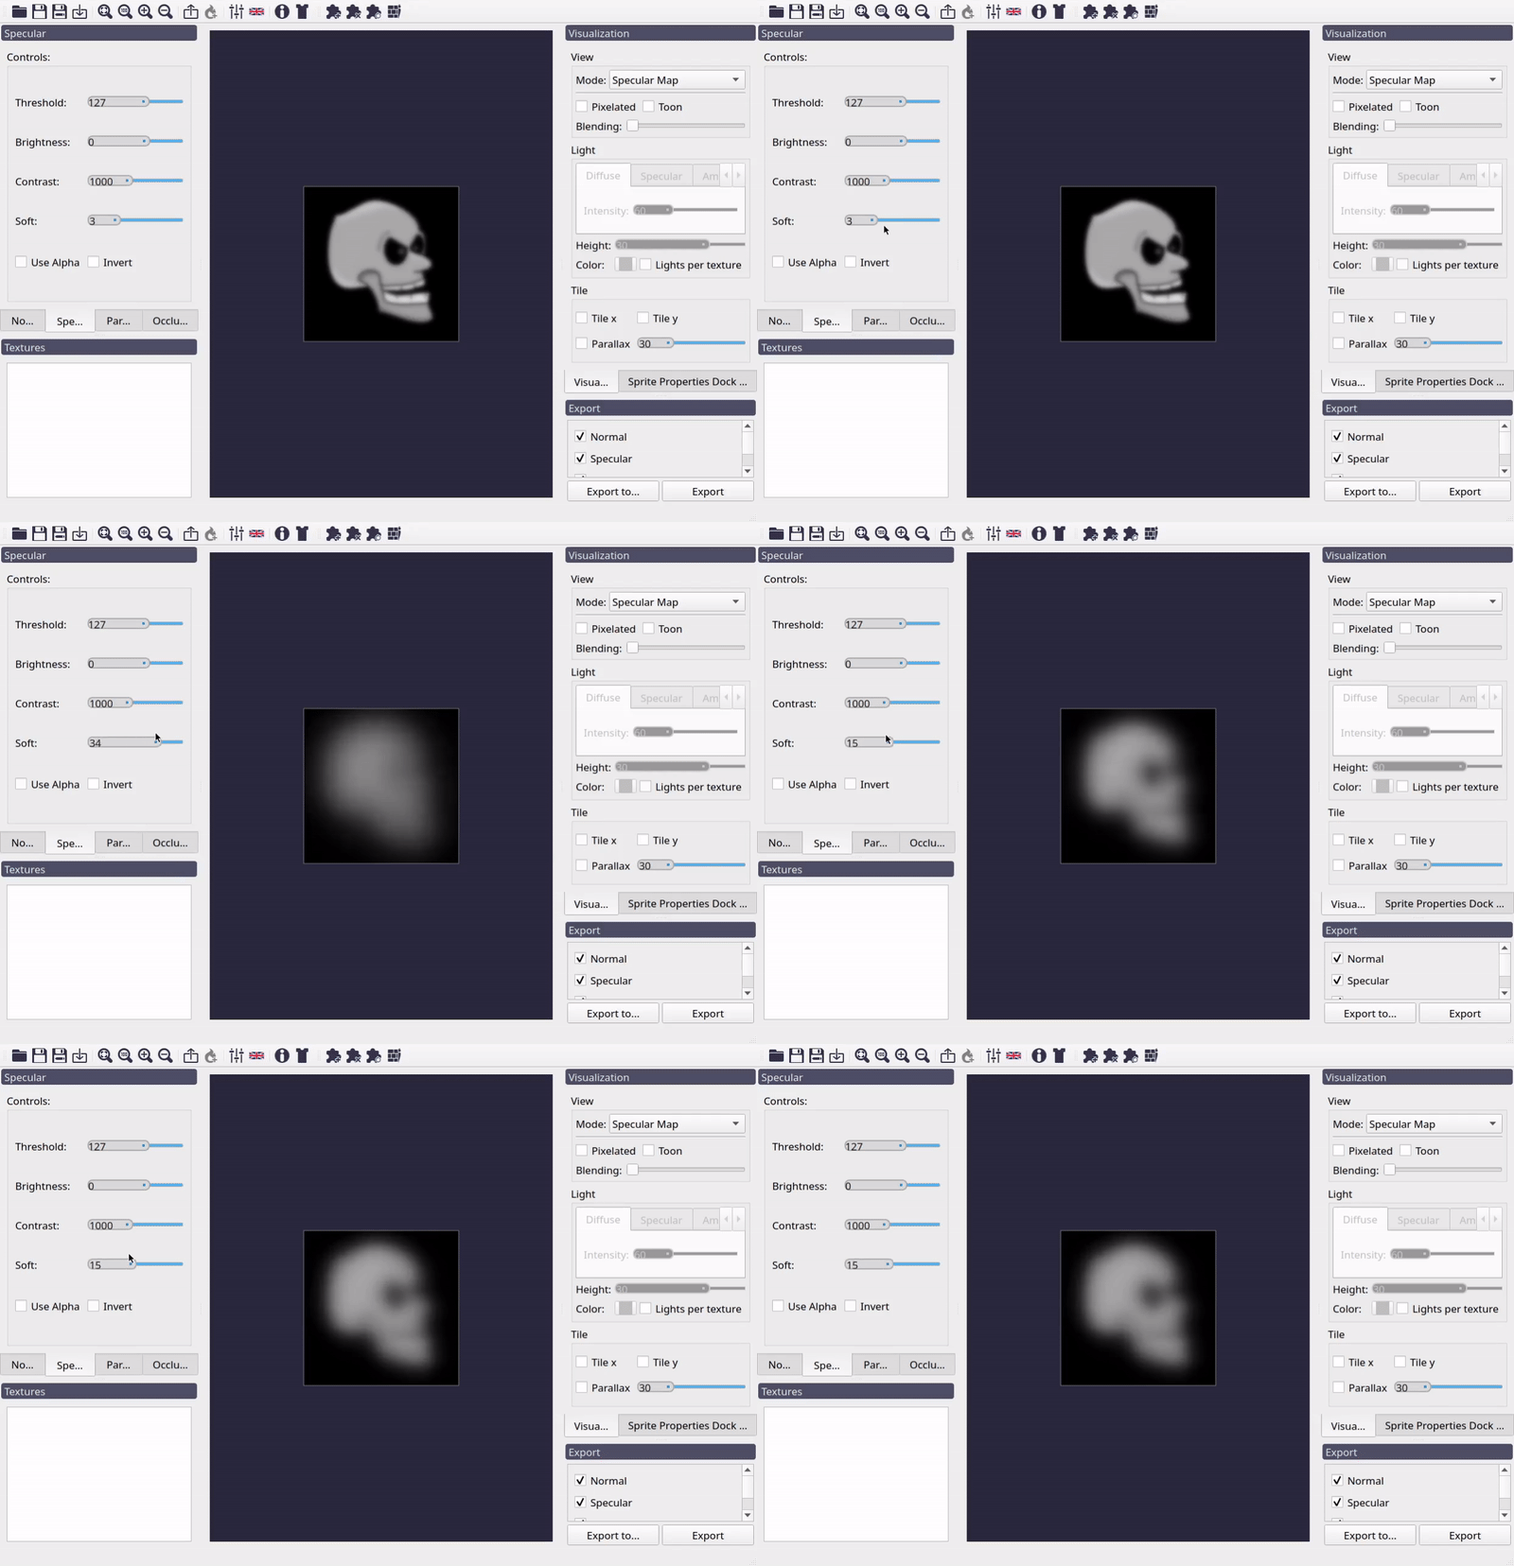
Effect of Soft control on specular map.
Invert Control
Invert checkbox is self-explanatory. It just inverts the colors of the specular map.
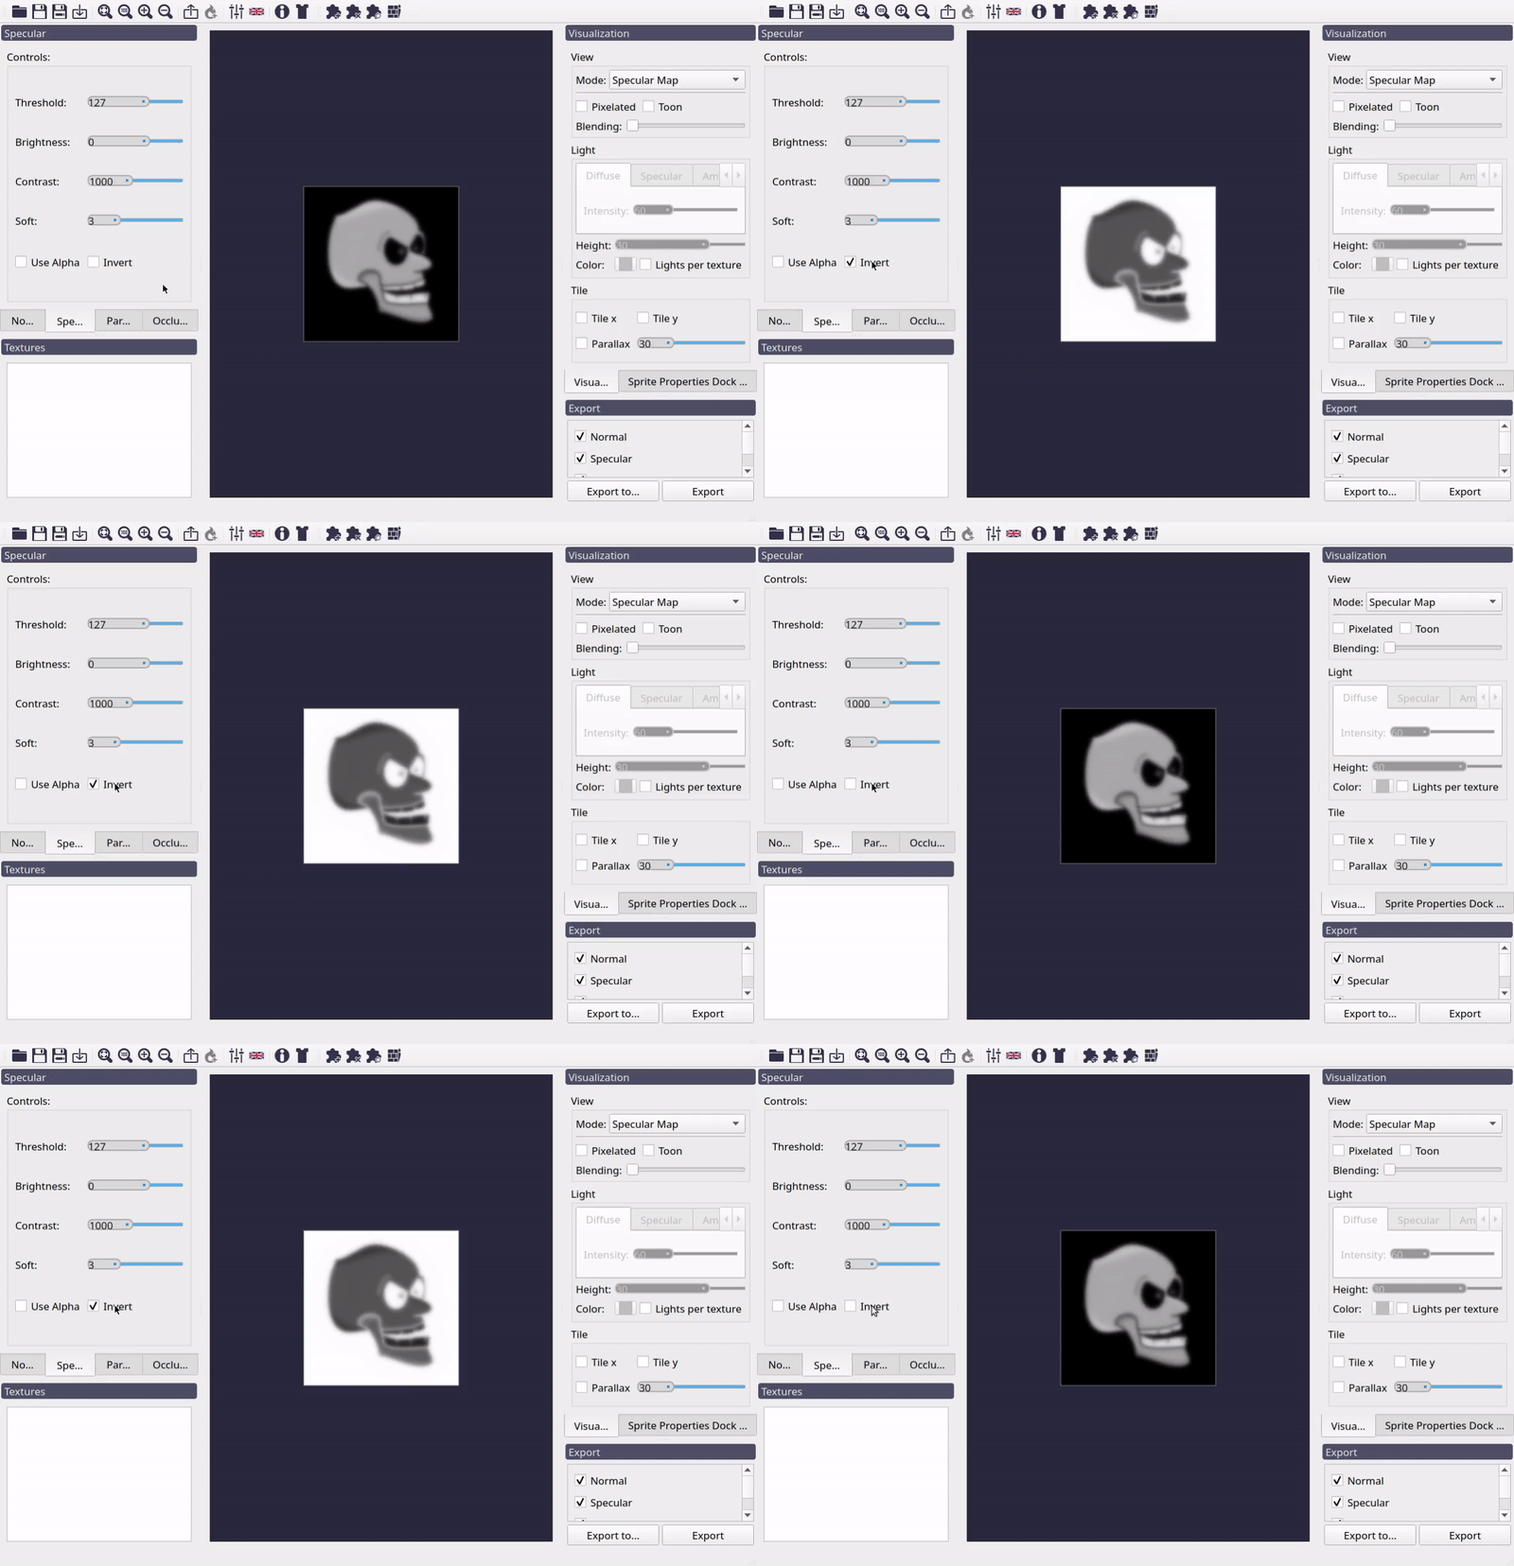
Effect of Invert control on specular map.