First steps with Laigter
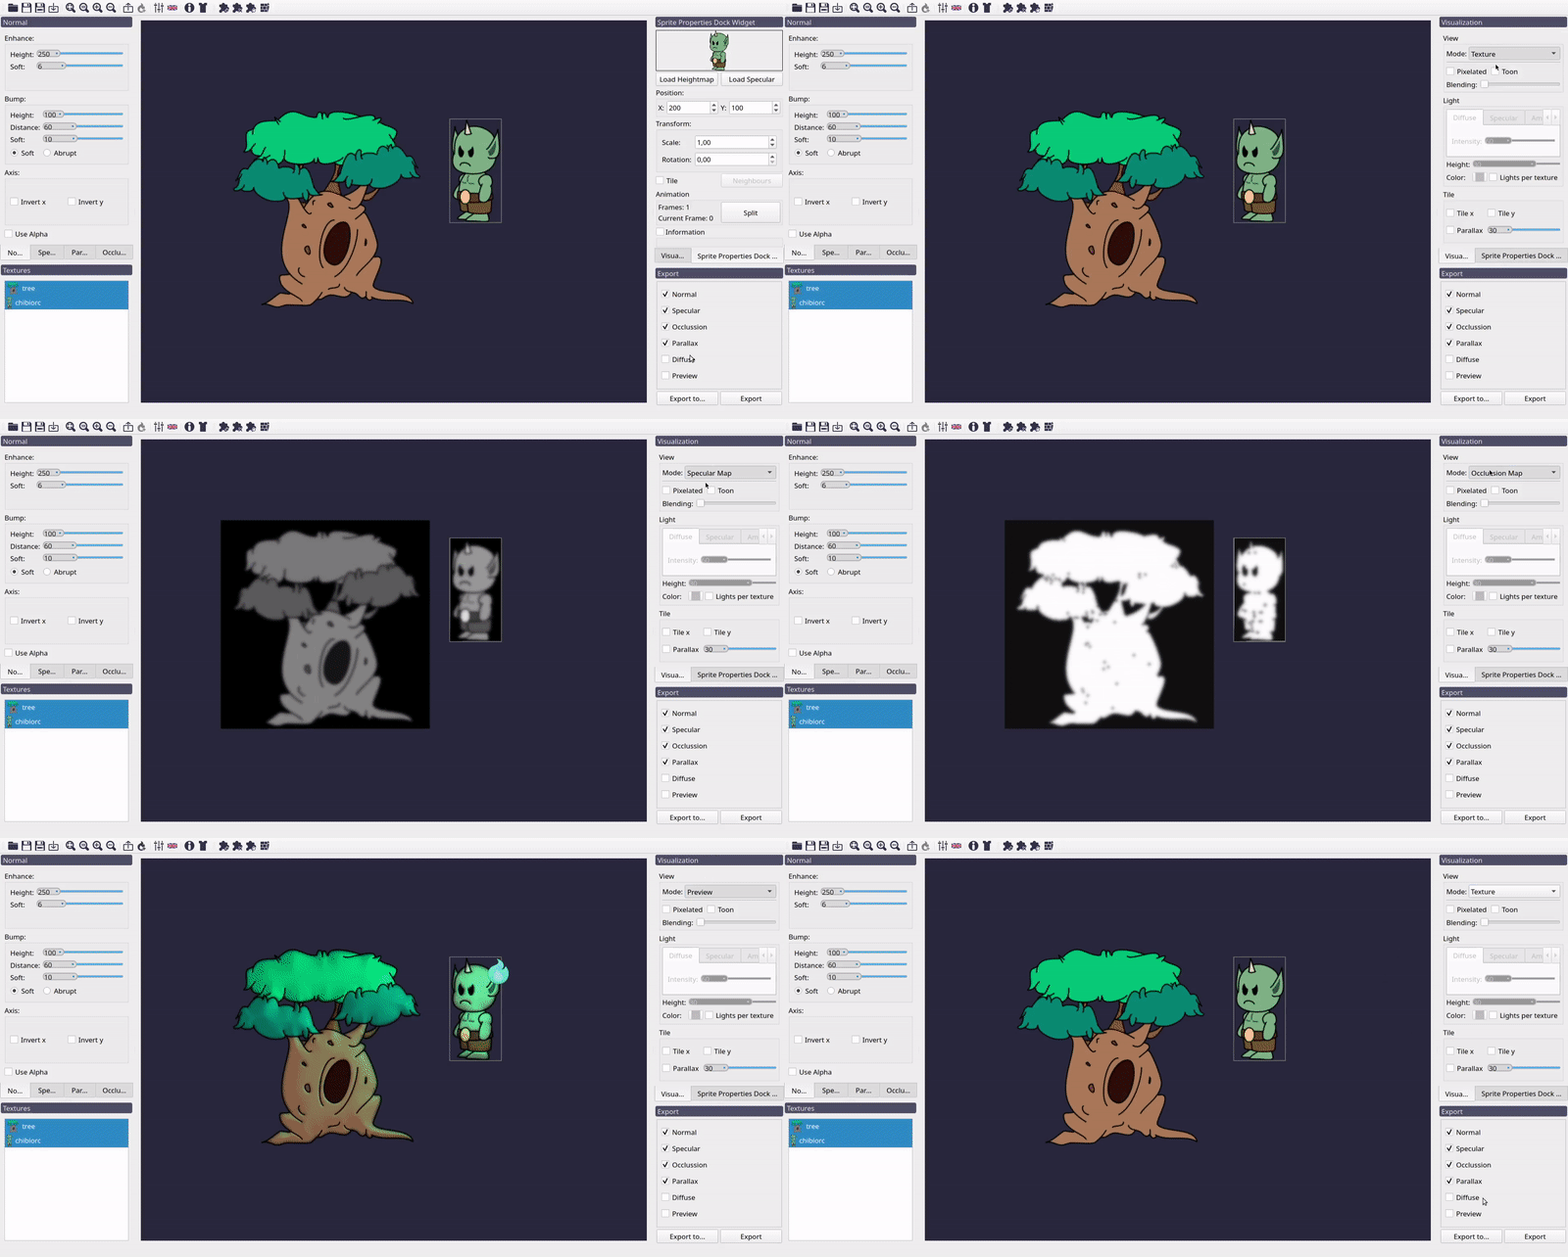
When opening Laigter, you will see a default image, with default settings. All maps were generated for this sprite and you can see each of them and the result with lighting changing the preview mode in the view dock widget.
Importing Sprites
But probably, the first thing you want to do with Laigter, is test with your own sprites, so let’s see how to do it.
Warning
Since switching processing library image for achieving simpler and more maintainable code, map generation became a bit slower. So you may need to wait a bit after importing a texture, as all maps will be generated at that moment.
If you don’t have any sprite to test at the moment, you can use try with this two:


You can import those images into Laigter by simply dragging them to the main window,
or using the  (import) button in the toolbar.
Selecting Sprites
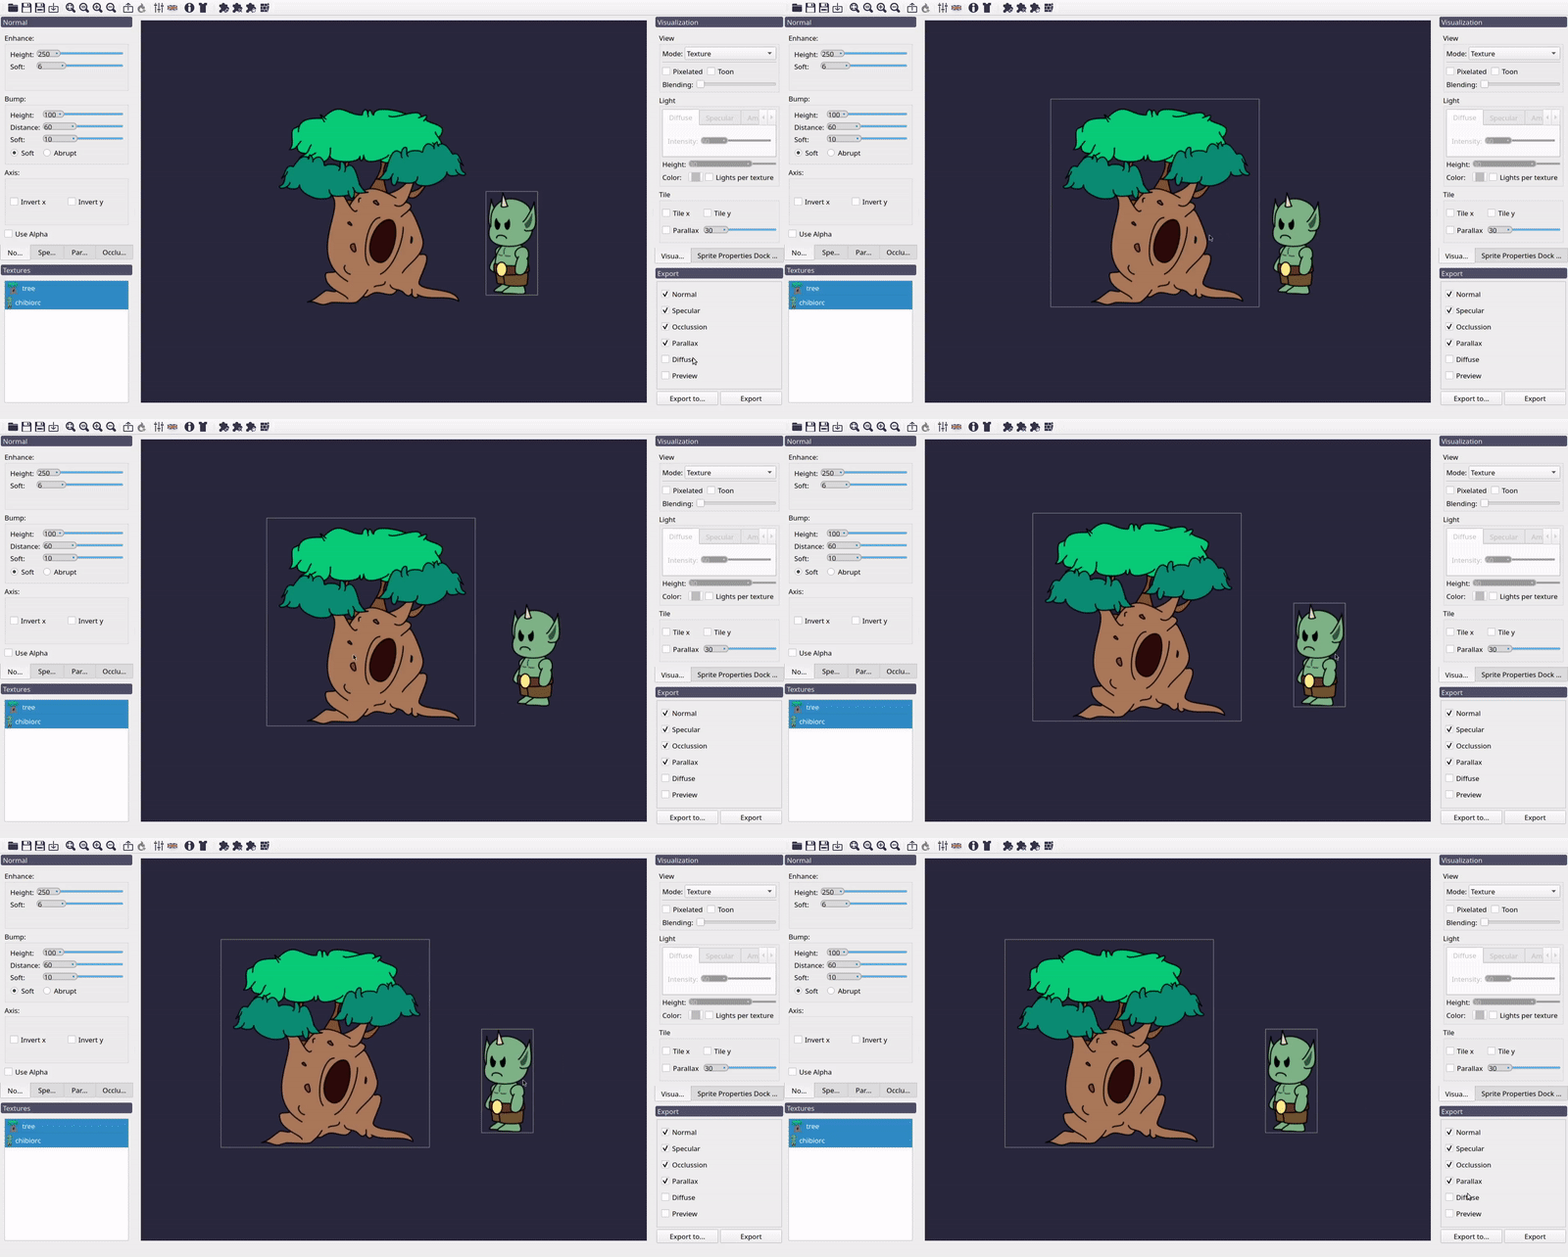
If you drag both images at the same time into Laigter, you should see both of them rendered on the preview central widget. Both of them will be selected and positioned in the “World’s” origin (this is, the center of the preview widget when Laigter is opened). Clicking on one of them will only select that sprite. You then can freely move that sprite around. Holding Ctrl while clicking multiple sprites will allow you to select multiple sprites and moving them all at the same time.
Textures Dock Widget
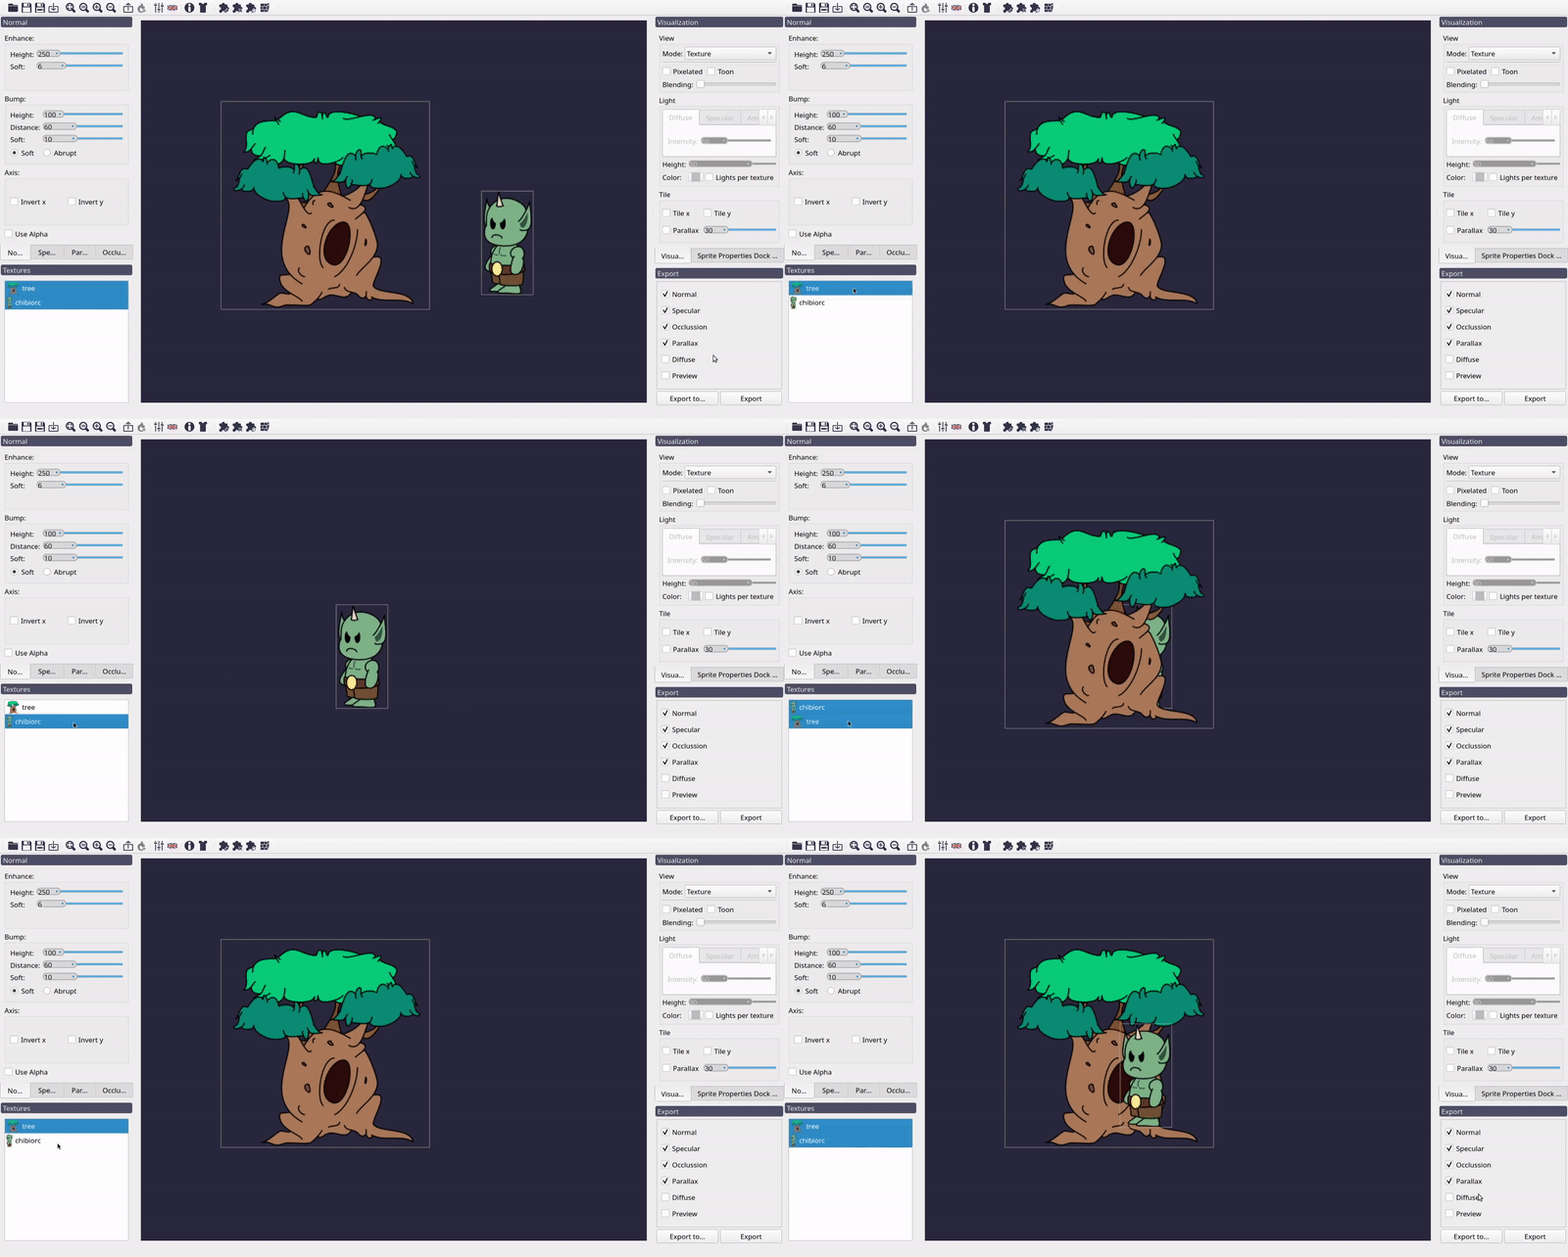
Sometimes you don’t want to render all opened sprites, or you want to change the order in which they are rendered, to put a Sprite “in front of” another one. For this purpose, you can use the “Textures” dock widget.
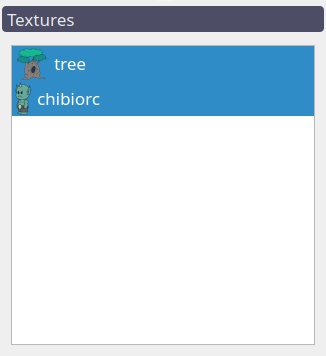
In this widget, you can see a list of the opened images. Selecting one of them will only make that image visible in the canvas. You can select multiple images from the list holding Ctrl and clicking on them, and all selected images will become visible. You can drag items on that list to change the order of rendering. The images on the top of the list will be rendered first, and thus, appear behind the images on a lower position.
You can right-click on an item of the list to open a context menu with different actions. You can remove an image selecting the “Remove” action from the context menu. The rest of the actions will be covered in other sections.
Moving and Rotating the canvas
Sometimes it’s useful to move the canvas around, for example, to get a better view of a texture region that is very zoomed in. Sometimes you need to rotate the canvas to make it easier to use brushes.
In Laigter you can move the canvas, which adds an offset to the world’s origin, pressing and dragging right-click on a free space (i.e, without selecting any texture).
You can rotate the full canvas pressing and dragging left-click while holding the Shift key.
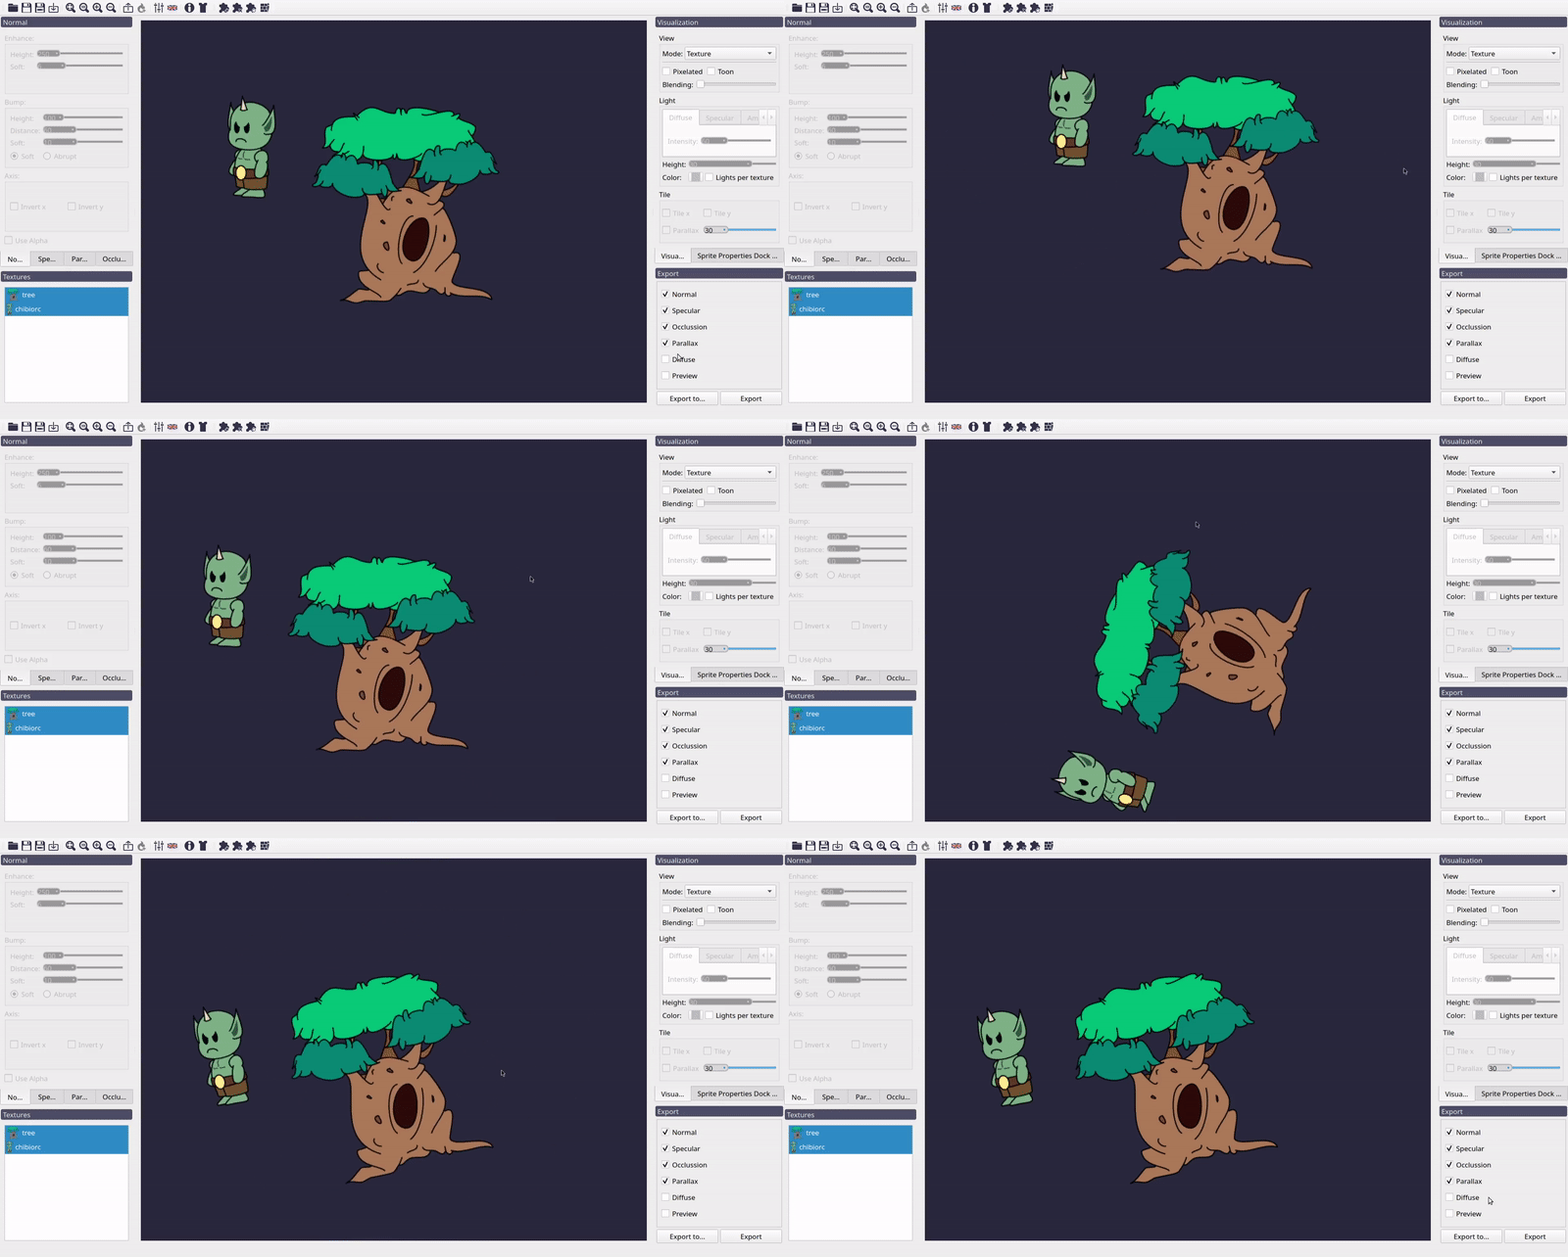
Sprite Properties Dock Widget
This dock widget has some controls to modify the appearance of the currently selected sprite.
Transformations
You can apply some simple transformations to the Sprite, to make it easier for you to work on them. This transformations don’t affect the map generation, but only change position, rotation, or scale of the sprite.
Sprite position
You can move any sprite by simply clicking on it and dragging it around the central canvas.
If you want to set the position in a more precise way, you can also head to the “Sprite properties Dock Widget” and set the desired position in the spin boxes. Have in mind, these positions are relative to the “World”, with origin in the center of the widget when you open Laigter.
Note
The sprite should be selected for the transformation to affect. In the Sprite Properties Dock Widget you can see the currently selected sprite.
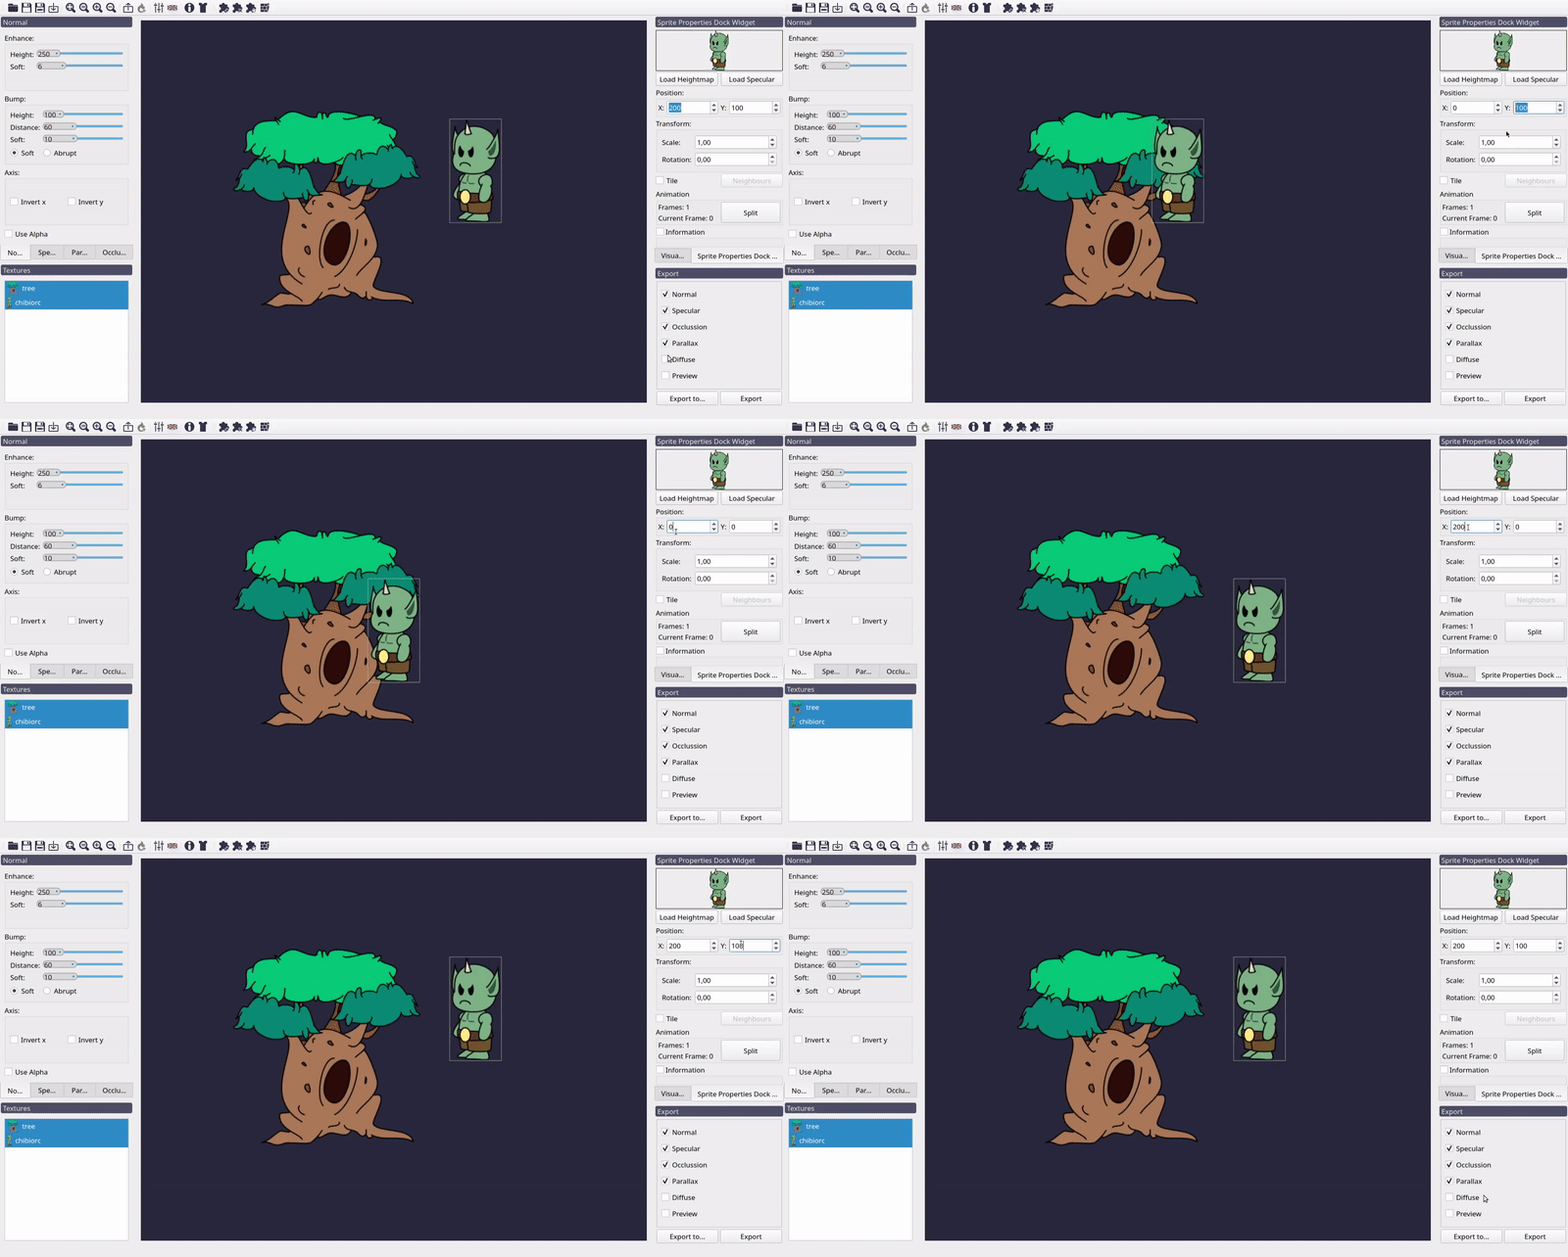
Sprite rotation
You can also rotate the sprite. This is useful for hand-painting when using brush plugins (which will be covered on their own sections), or just for previsualization purposes. The only way for rotating a singe sprite right now is to set the desired angle in the corresponding spinbox on the “Sprite Properties Dock Widget”.
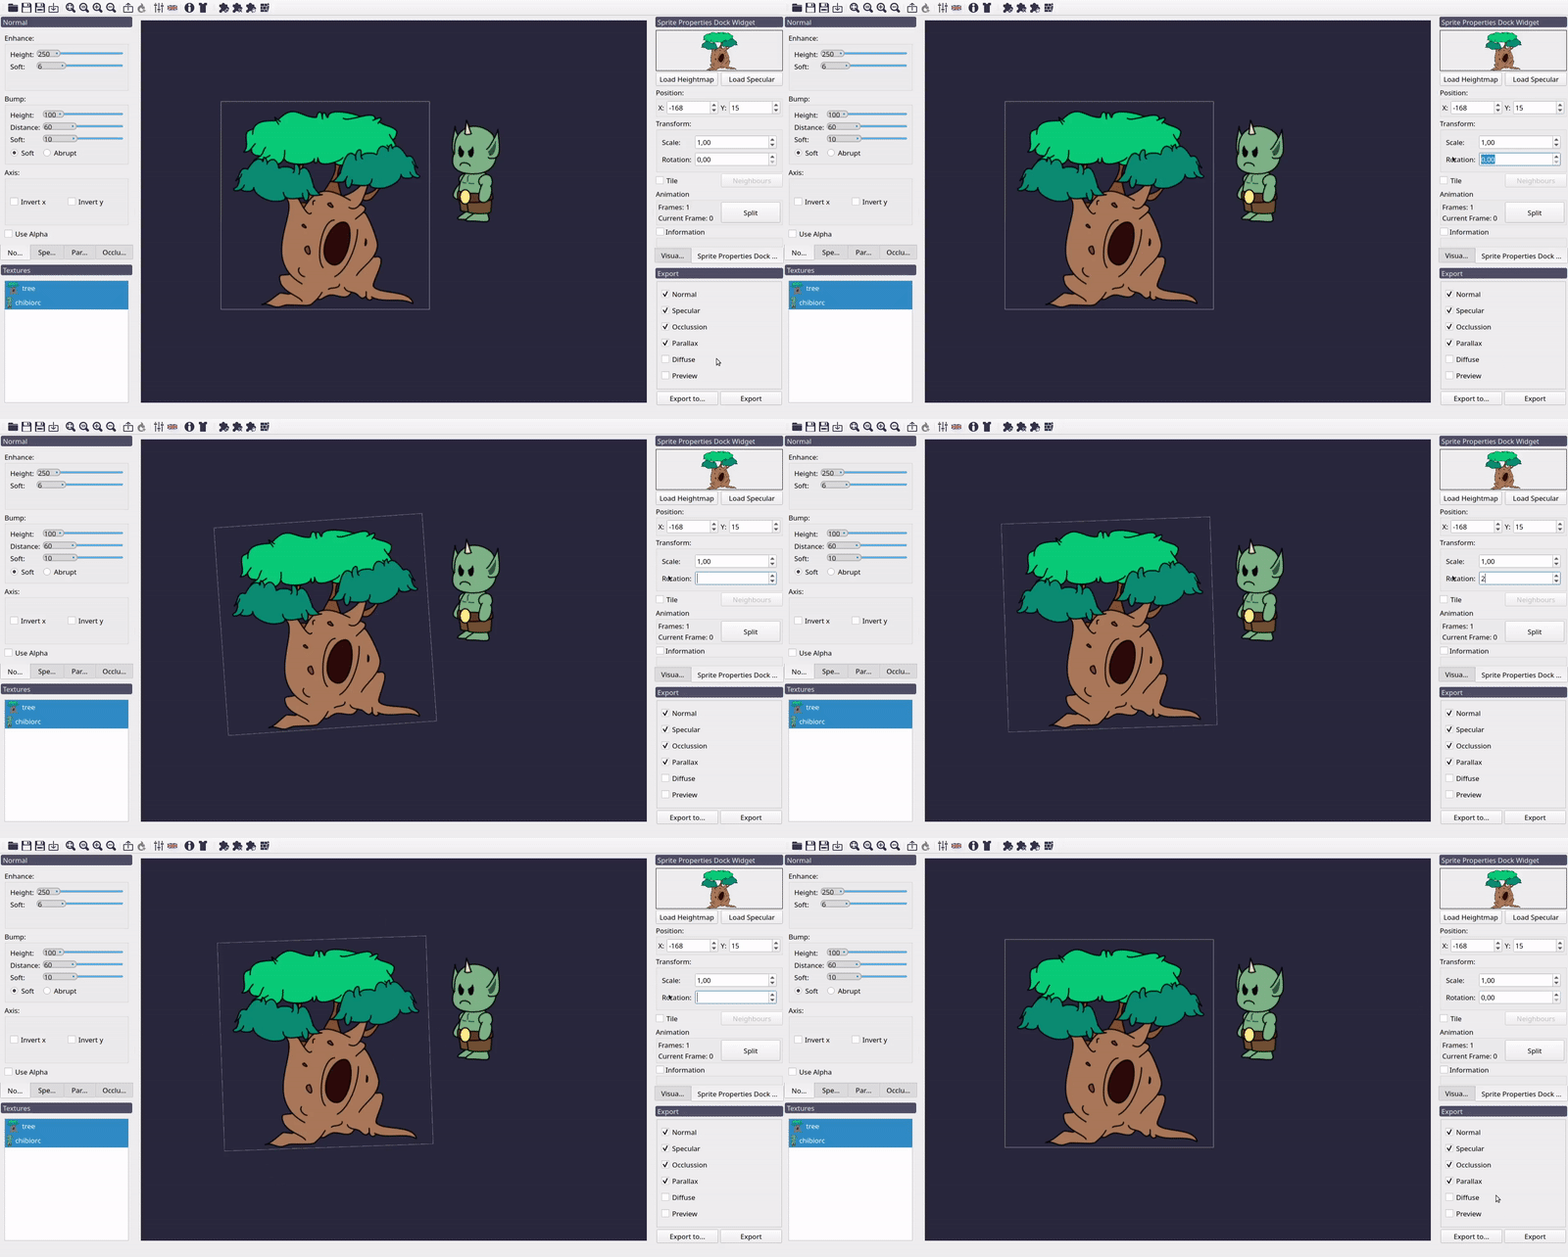
Sprite scale
The “Sprite Properties Dock Widget” also includes a spinbox to modify the scale of the sprite. This feature was added for the sole reason of visualization, as some times you may want to make a texture bigger than others for mockup purposes.
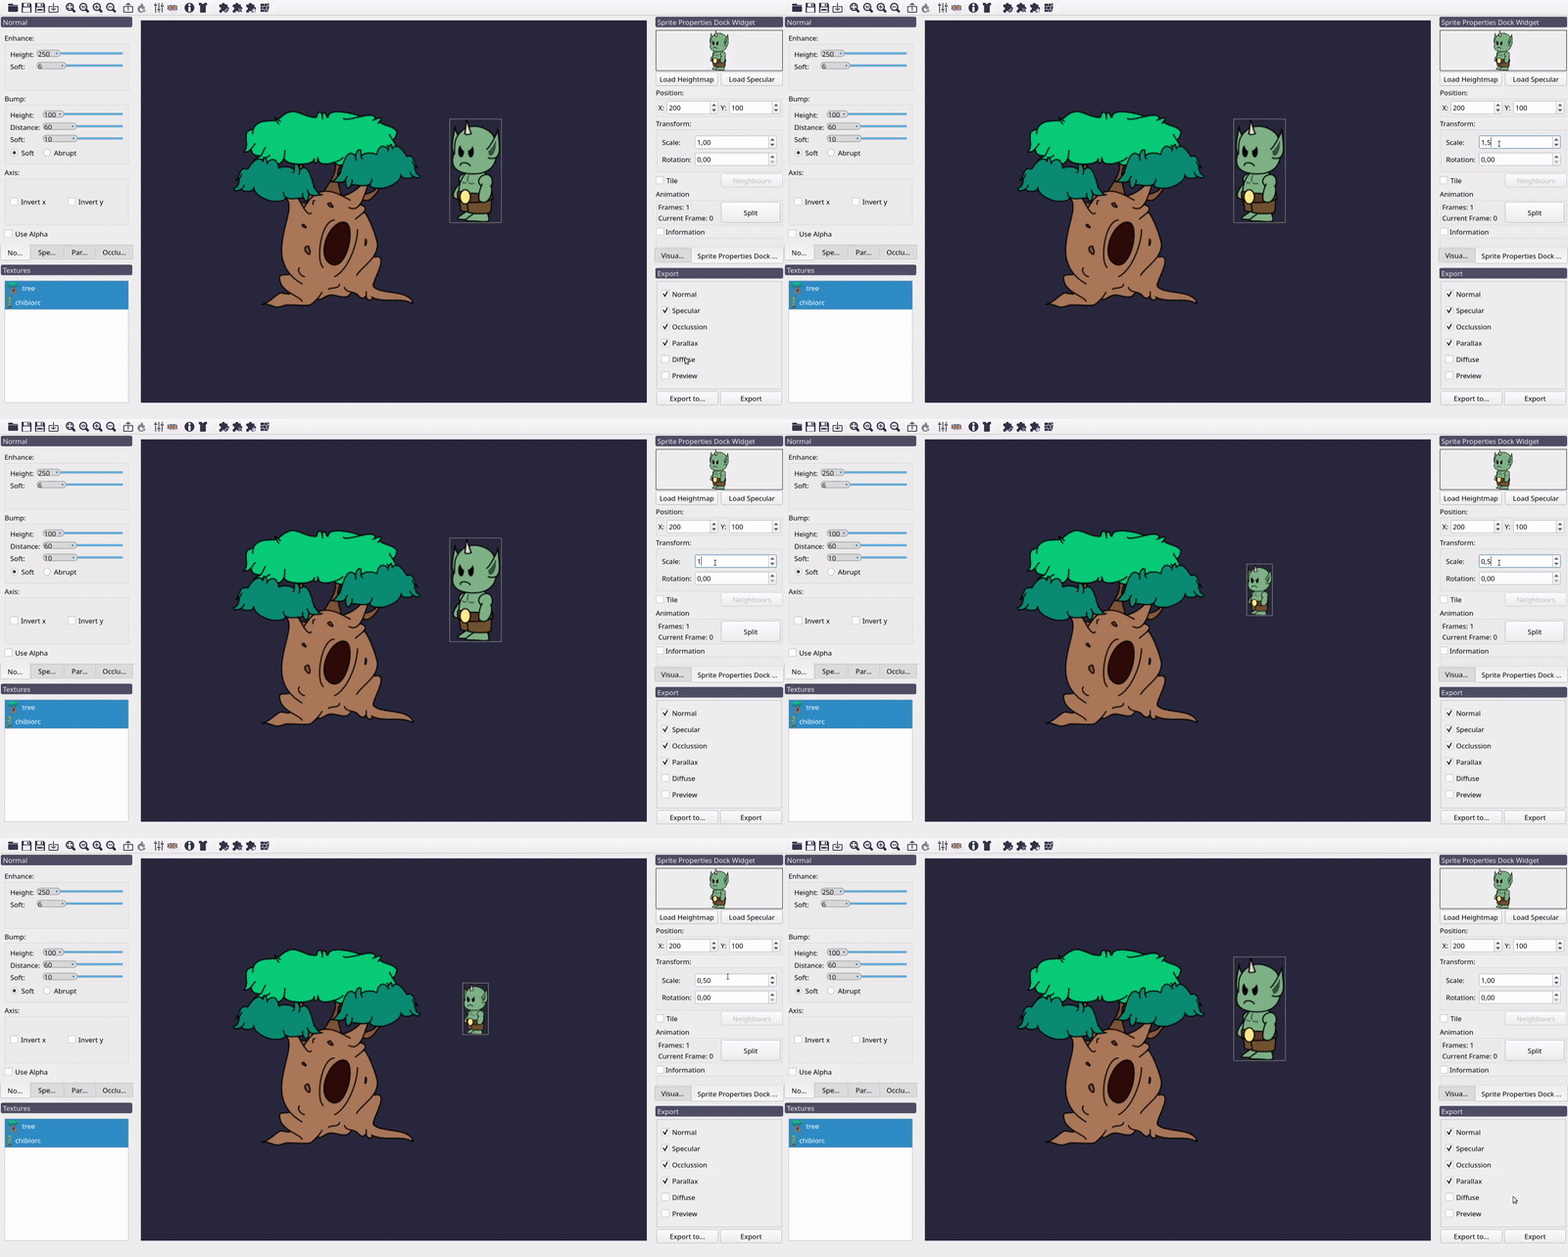
For scaling a sprite, you just need to select it and modify the value at the corresponding spinbox.
Warning
Some brush operations may work unpredictably with scaled sprites. This feature is currently only for visualization purposes. If you need to use a brush on a closer look at the sprite, use zoom instead.
Properties that affect the map generation
Some properties affect the map generation and will be covered in their corresponding sections for a better understanding of them. Those are:
- Animation controls (Split button)
- Tile options (Tile checkbox and Neighbours button)
You can see those controls on the “Sprite Properties Dock Widget” image at the beginning of this section.
Image information
Information is hidden by default, so it doesn’t waste space on low-resolution screens. Checking the “Information” checkbox, a list of data will be shown. This includes:
- The image name.
- The image path on your file system.
- The image size in pixels.
You can see this information on the “Sprite Properties Dock Widget” image at the beginning of this section.
If you would like to have more information there, please request it!
Visualization Mode
You can change the visualization mode in the “Visualization” dock widget, changing the selection in the “Mode” combo box. This will let you see the corresponding generated map for the visible sprites, as well as a real-time lighting preview.
Most of the features included in this widget will be covered in the corresponding section, but it was necessary to show the visualization mode here so you can go ahead and generate your firsts maps with Laigter!
