Real-time lighting preview
Besides generating the maps for dynamic illumination, Laigter also has a real-time preview mode, in which you can add light sources, configure them, and move them arround, to see how the lighting effect would look in-game.
Note
All settings in the Preview Dock are only for preview purposes. They will not affect the generated maps, and if there is any effect you want to reproduce in your game, you will have to code the shader yourself if it is not supported out of the box in your game engine.
Preview Settings
Similar to the docks that contains the controls for the maps generation, the preview dock has settings to tweak what is rendered. This settings are divided in View, Light, and Tile groups.
Warning
Different versions of the tool may have some controls in a different group compared to what is written here.
View
This group contains the basic preview settings.
Mode
This drop-down menu lets you choose the current view mode. There is an option for previewing each map, with its respective name, and an option for real-time lighting preview.
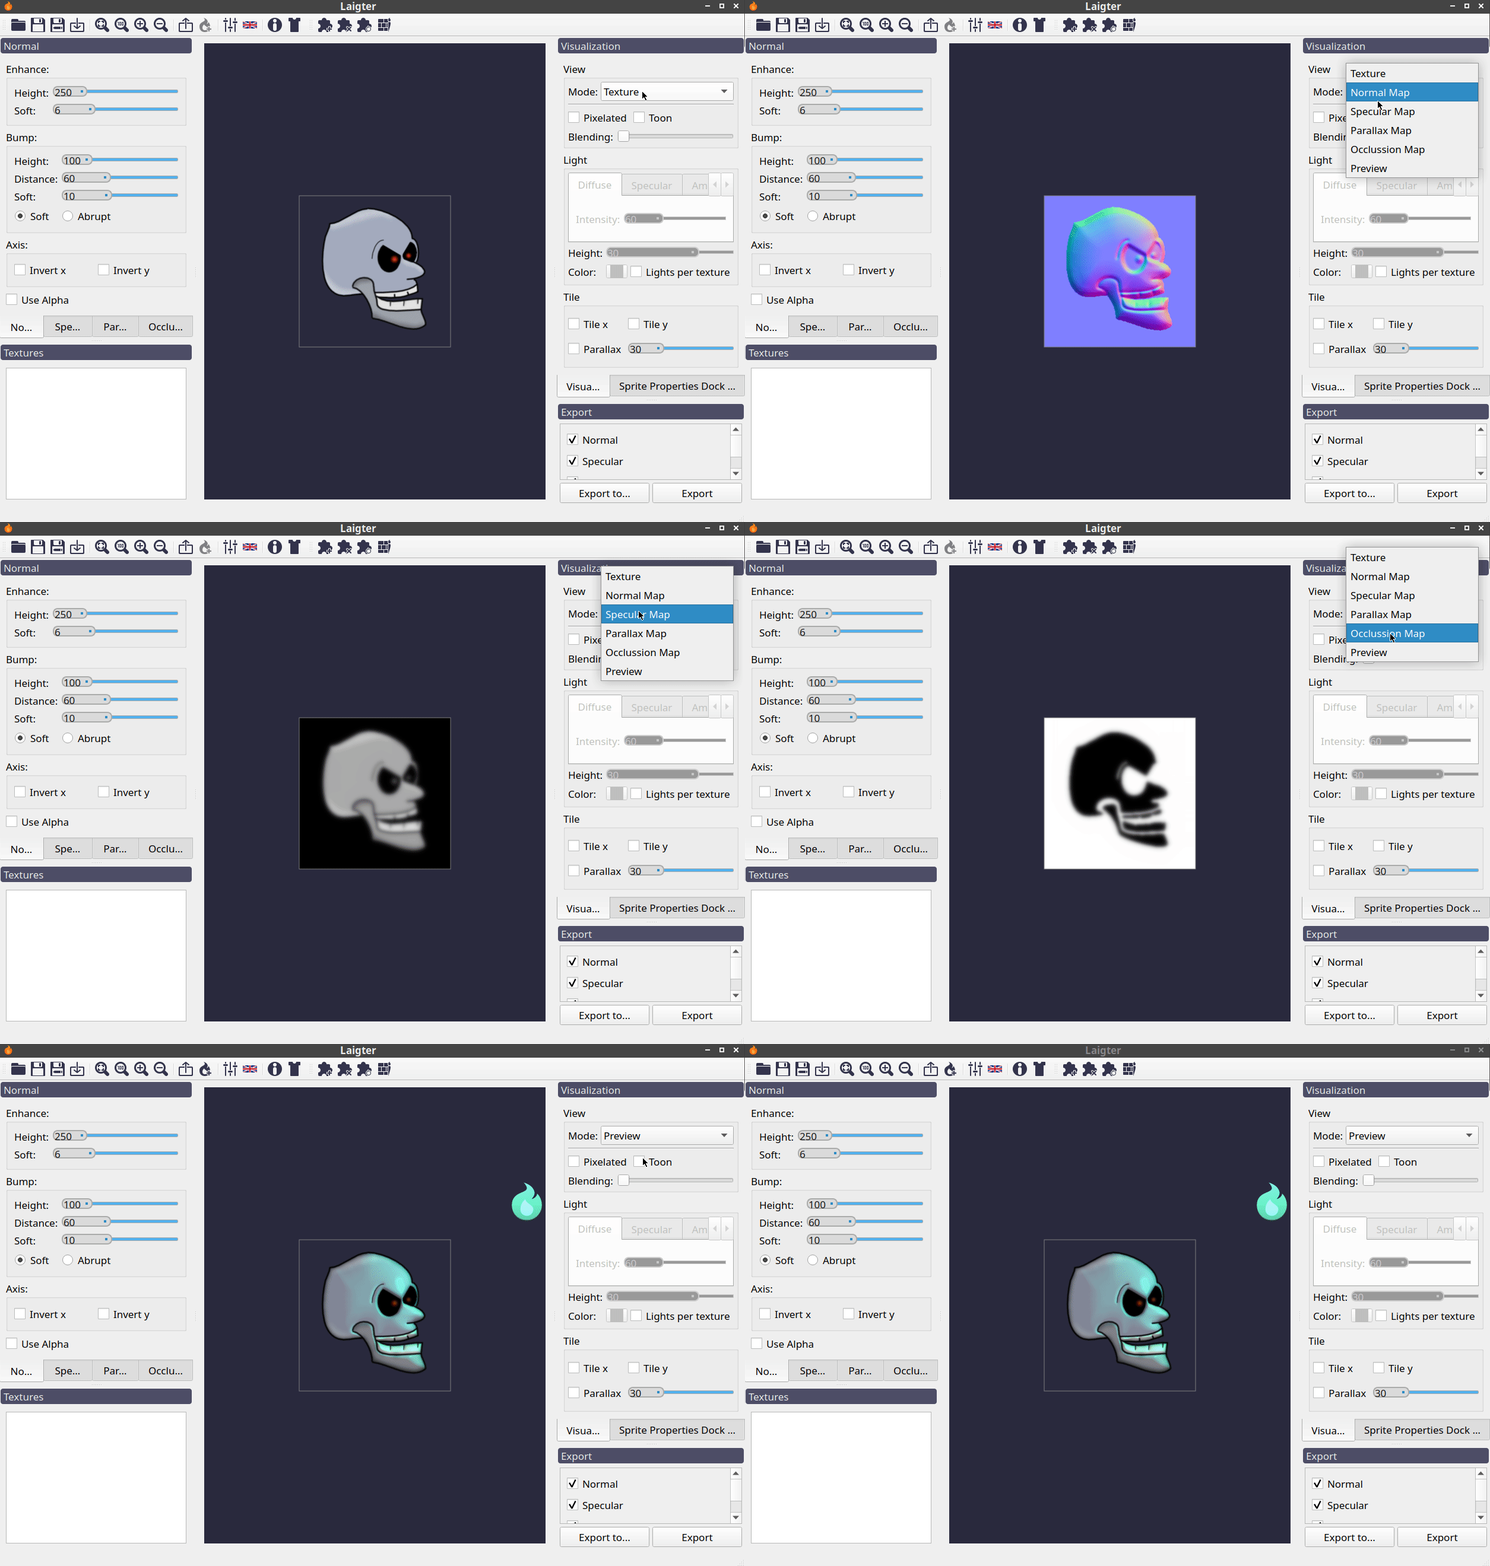
Changing view mode in the Preview Dock settings.
Pixelated Option
Checking this option will make all textures to be rendered without filter, so you can see the pixels of the original texture, and resulting maps. This option is useful when generating maps for pixel-art sprites.
Testing Pixelated option in real-time preview.
Toon Option
This options lets you set lighting in a simple toon mode. It uses the simplest toon shader, so dont expect anything fancy. When you are making a game with such effect, it is useful to be able to preview at least something similar to the final effect before exporting.
Note
This otpion only affects real-time preview, as it needs light to work.
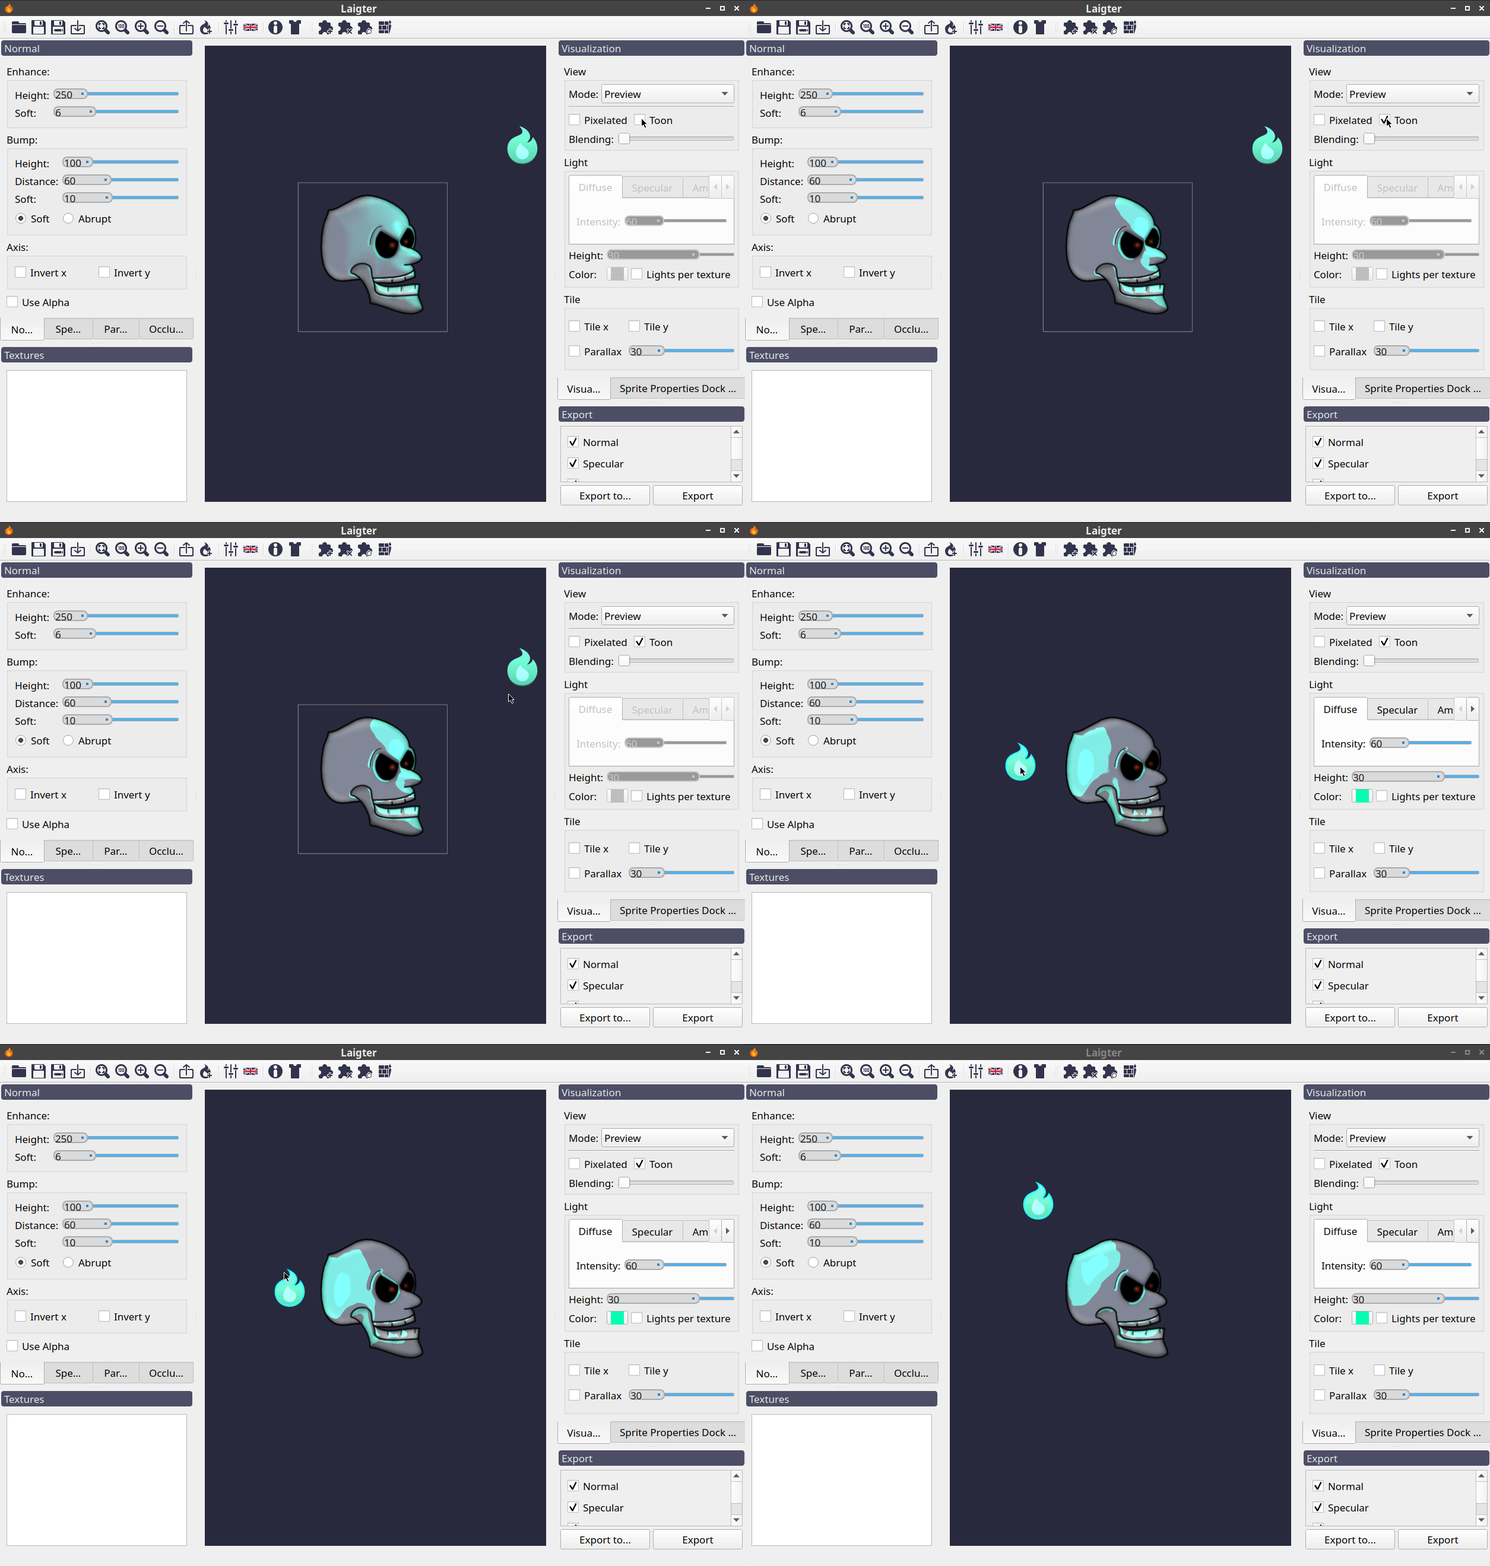
Testing Toon option.
Blending Control
When using brushes, for painting a normal map for example, it is useful to be able to see the original texture for reference. This slider allows you to blend the original sprite with the currently selected map in the preview mode drop-down menu.
Note
This option only works while previewing a genearted map (normal, parallax, specular or occlusion), as blending the original texture in texture or preview mode won’t have any effect.
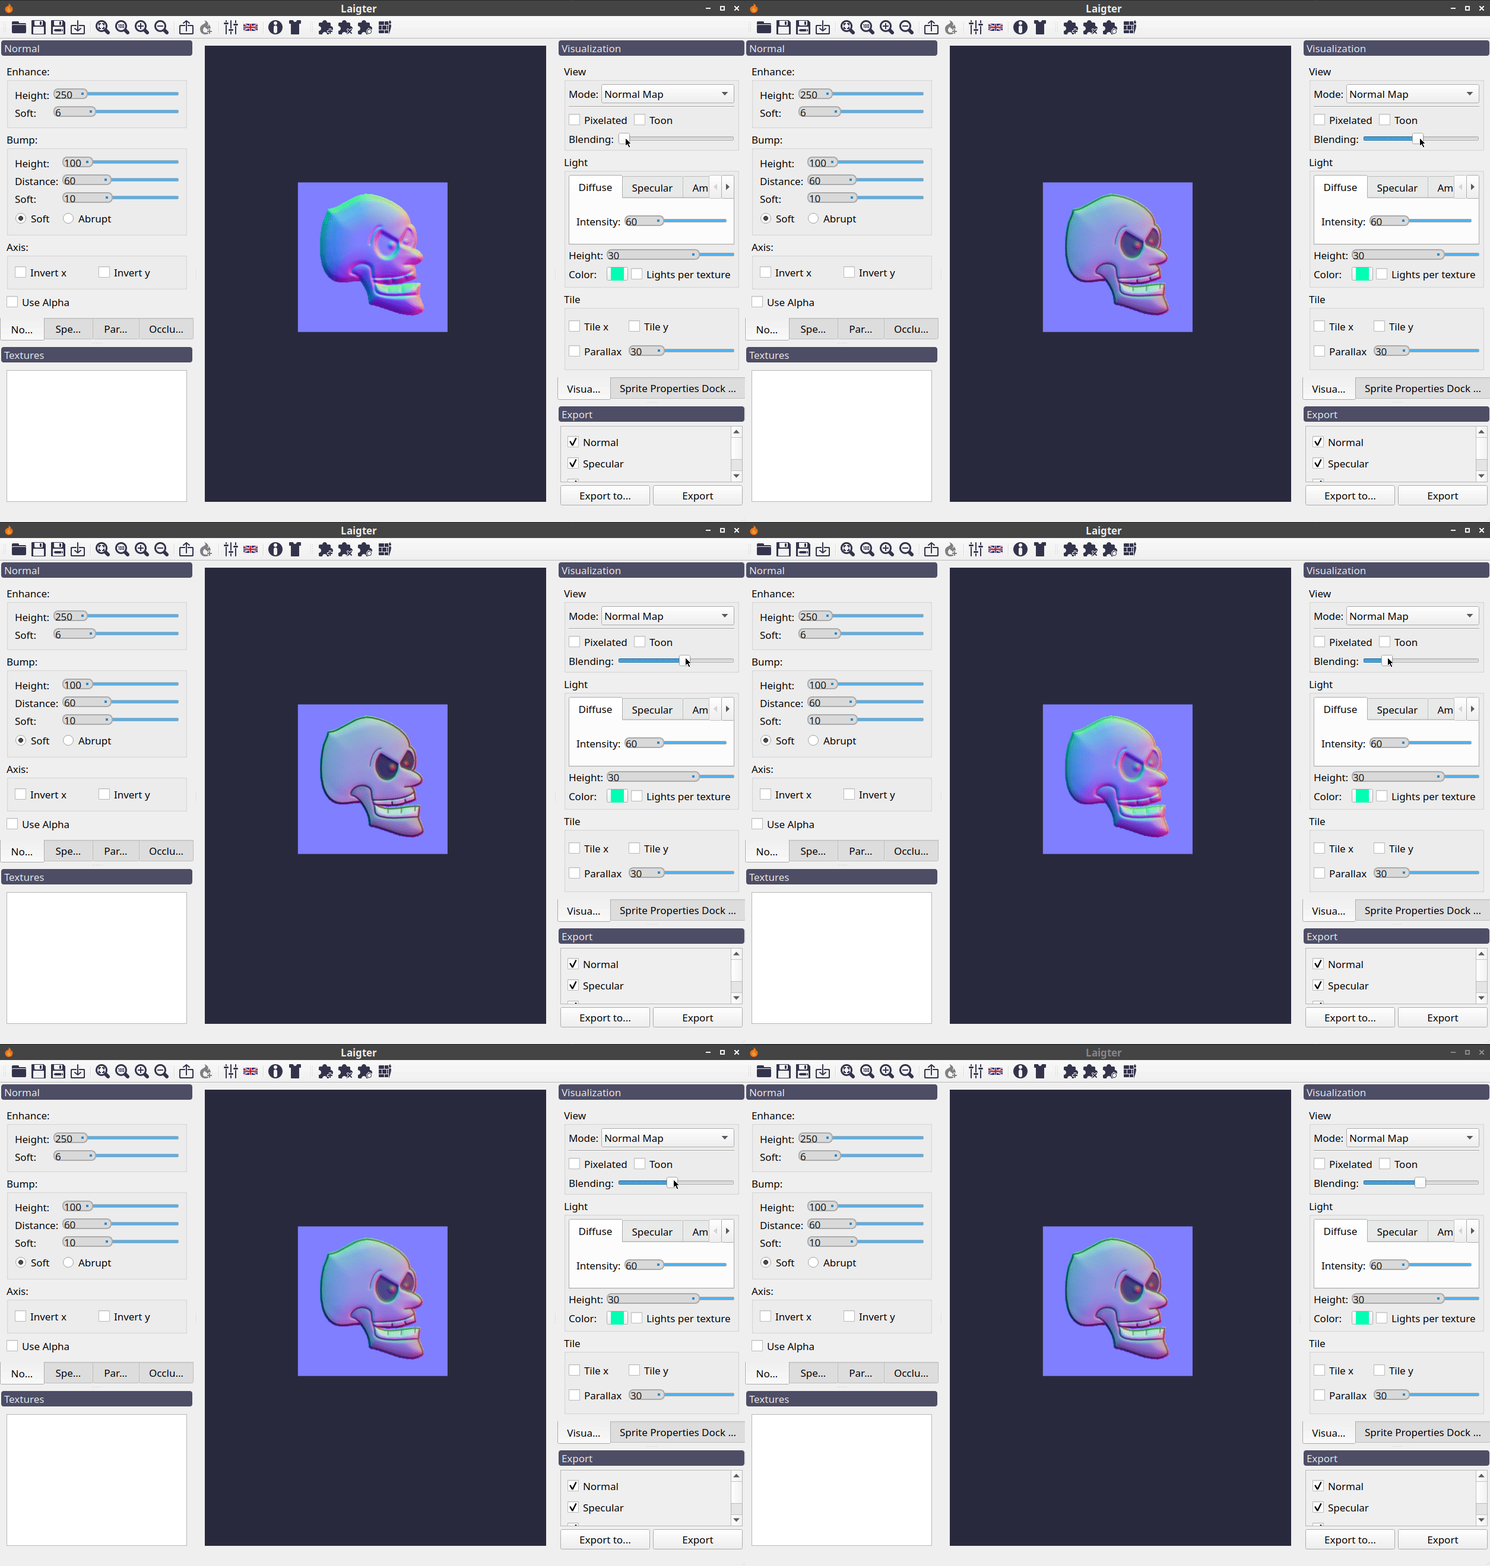
Blending original sprite with normal map.
Parallax Controls
For previewing parallax effect, you need to check the check-button. The slider allows you to choose the depth of the parallax map. This is disabled by default, as it uses a considerable amount of resources.
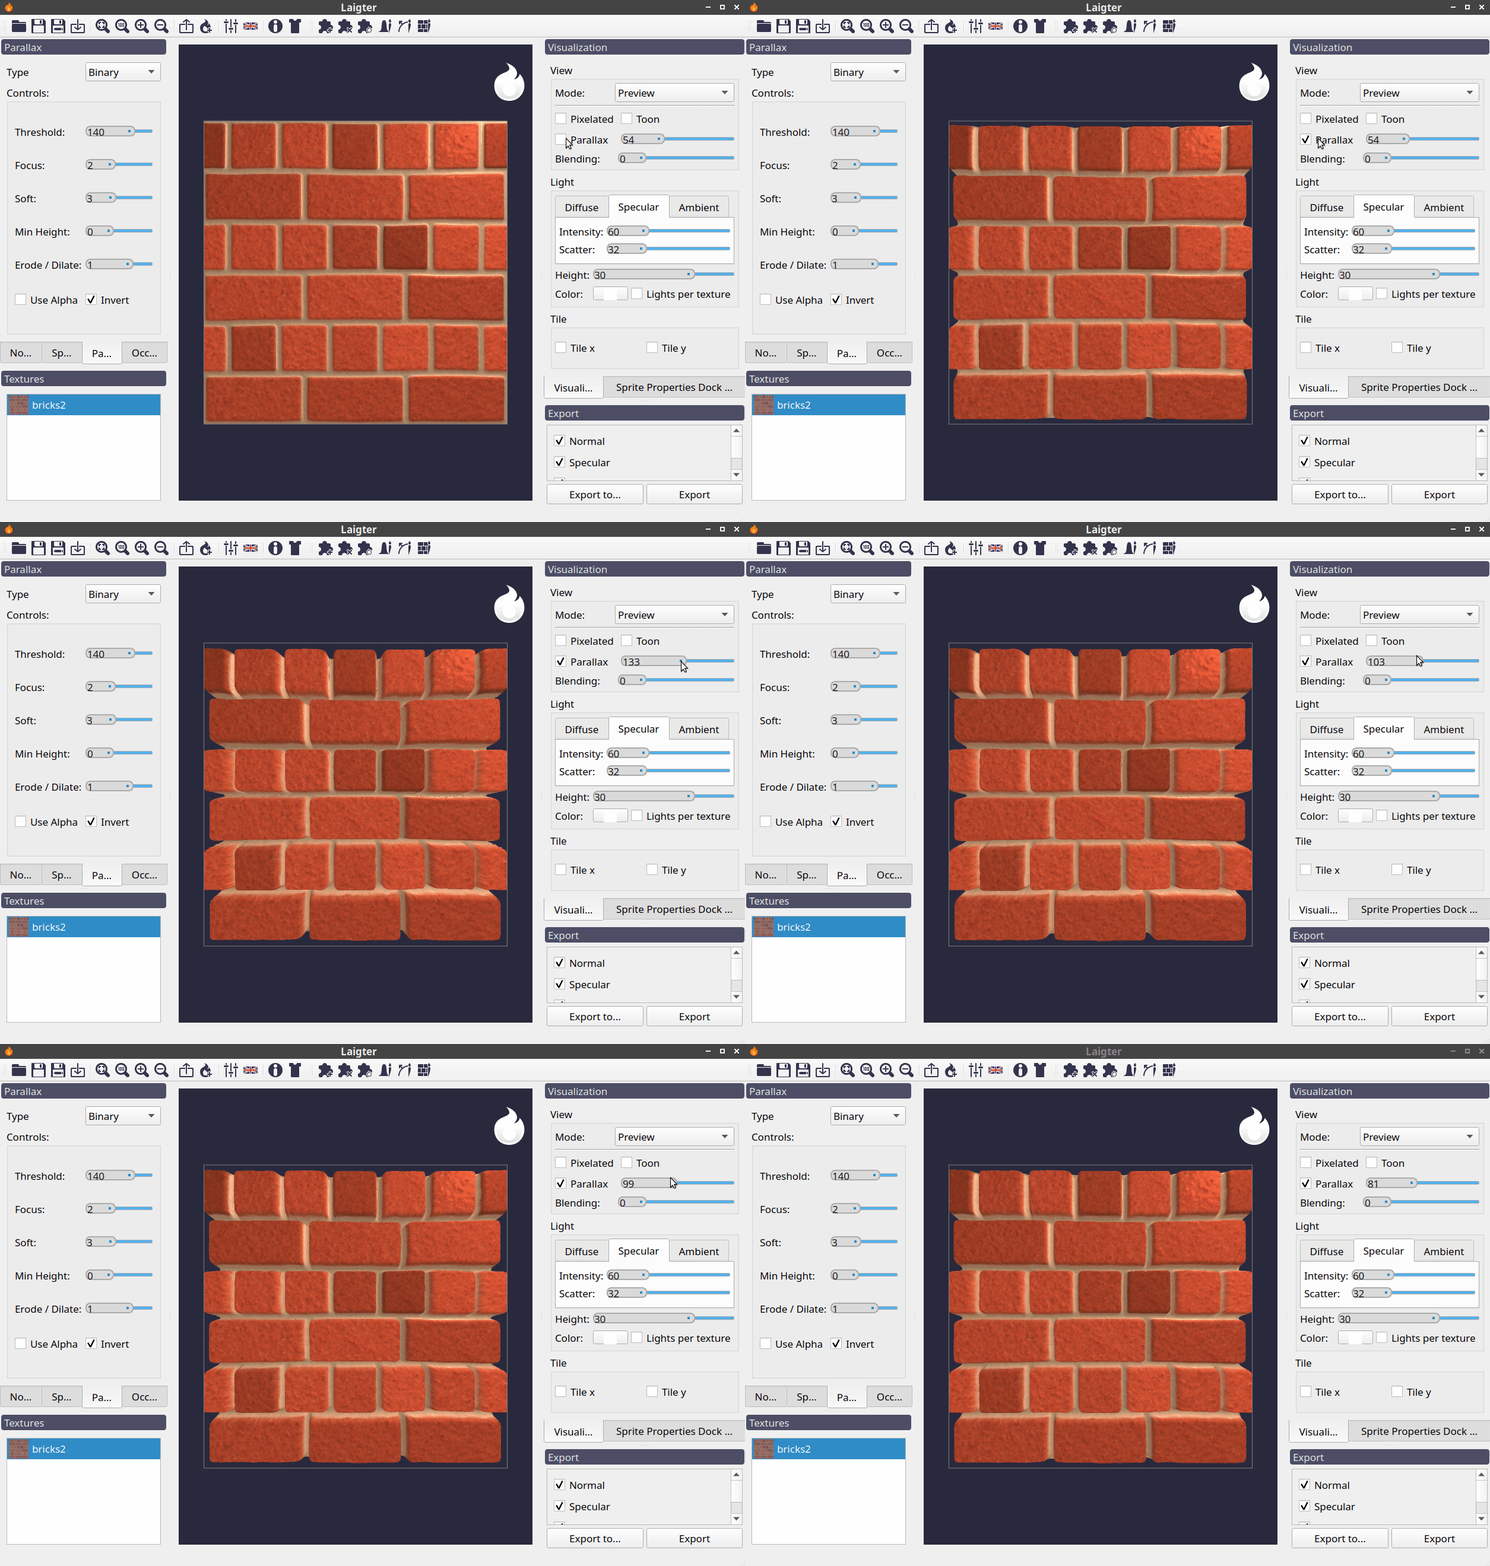
Example of parallax effect preview.
Light
This group of controls are used to tweak properties of illumination.
Note
You have to select a light for this group of controls to be neabled.
This group is divided in three tabs: Diffuse, Specular, and Ambient. All light sources in Laigter have a diffuse and a specular component. Also, there is an ambient light present, independent of light sources. The settings of each type of light are under the corresponding tab in the Light group.
Also, after this tabs, there are controls for setting height and color of the ligth source. This are not located in the tabs, because color and height affect specular and diffuse light components the same way.
Last option is to be able to have individual light sources per texture loaded.
Diffuse Light Controls
The diffuse component of the light sources has only one setting, the Intensity of the light. The higher this value is set, the brighter the light source becomes.
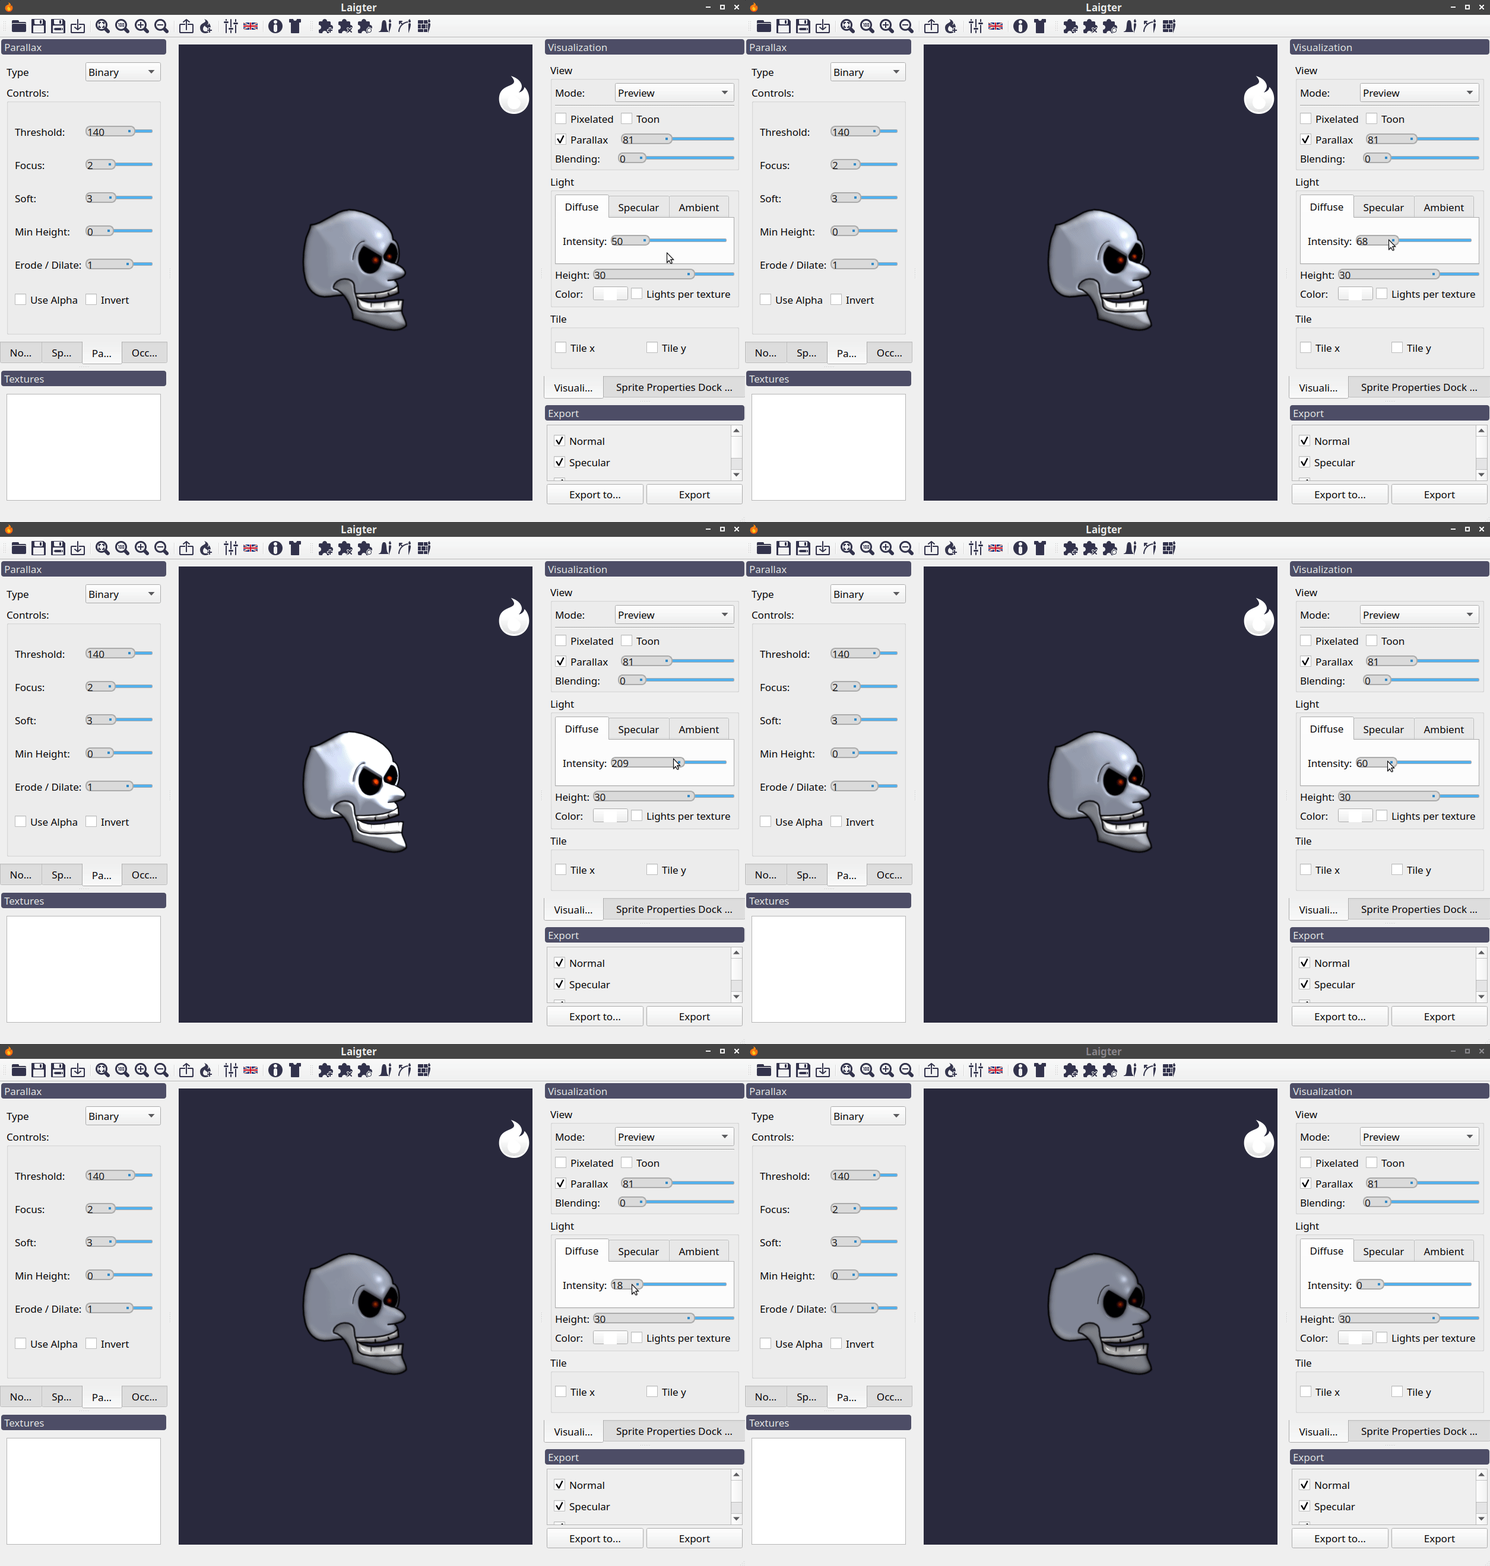
Effect of changing intensity of diffuse light.
Specular Light Controls
The specular component of the light source has two controls. Intensity specifies, as in diffuse component, the energy of the specular component (the higher, the brighter), and Scatter makes the specular component be less focused on one point, and scatter in the surface.
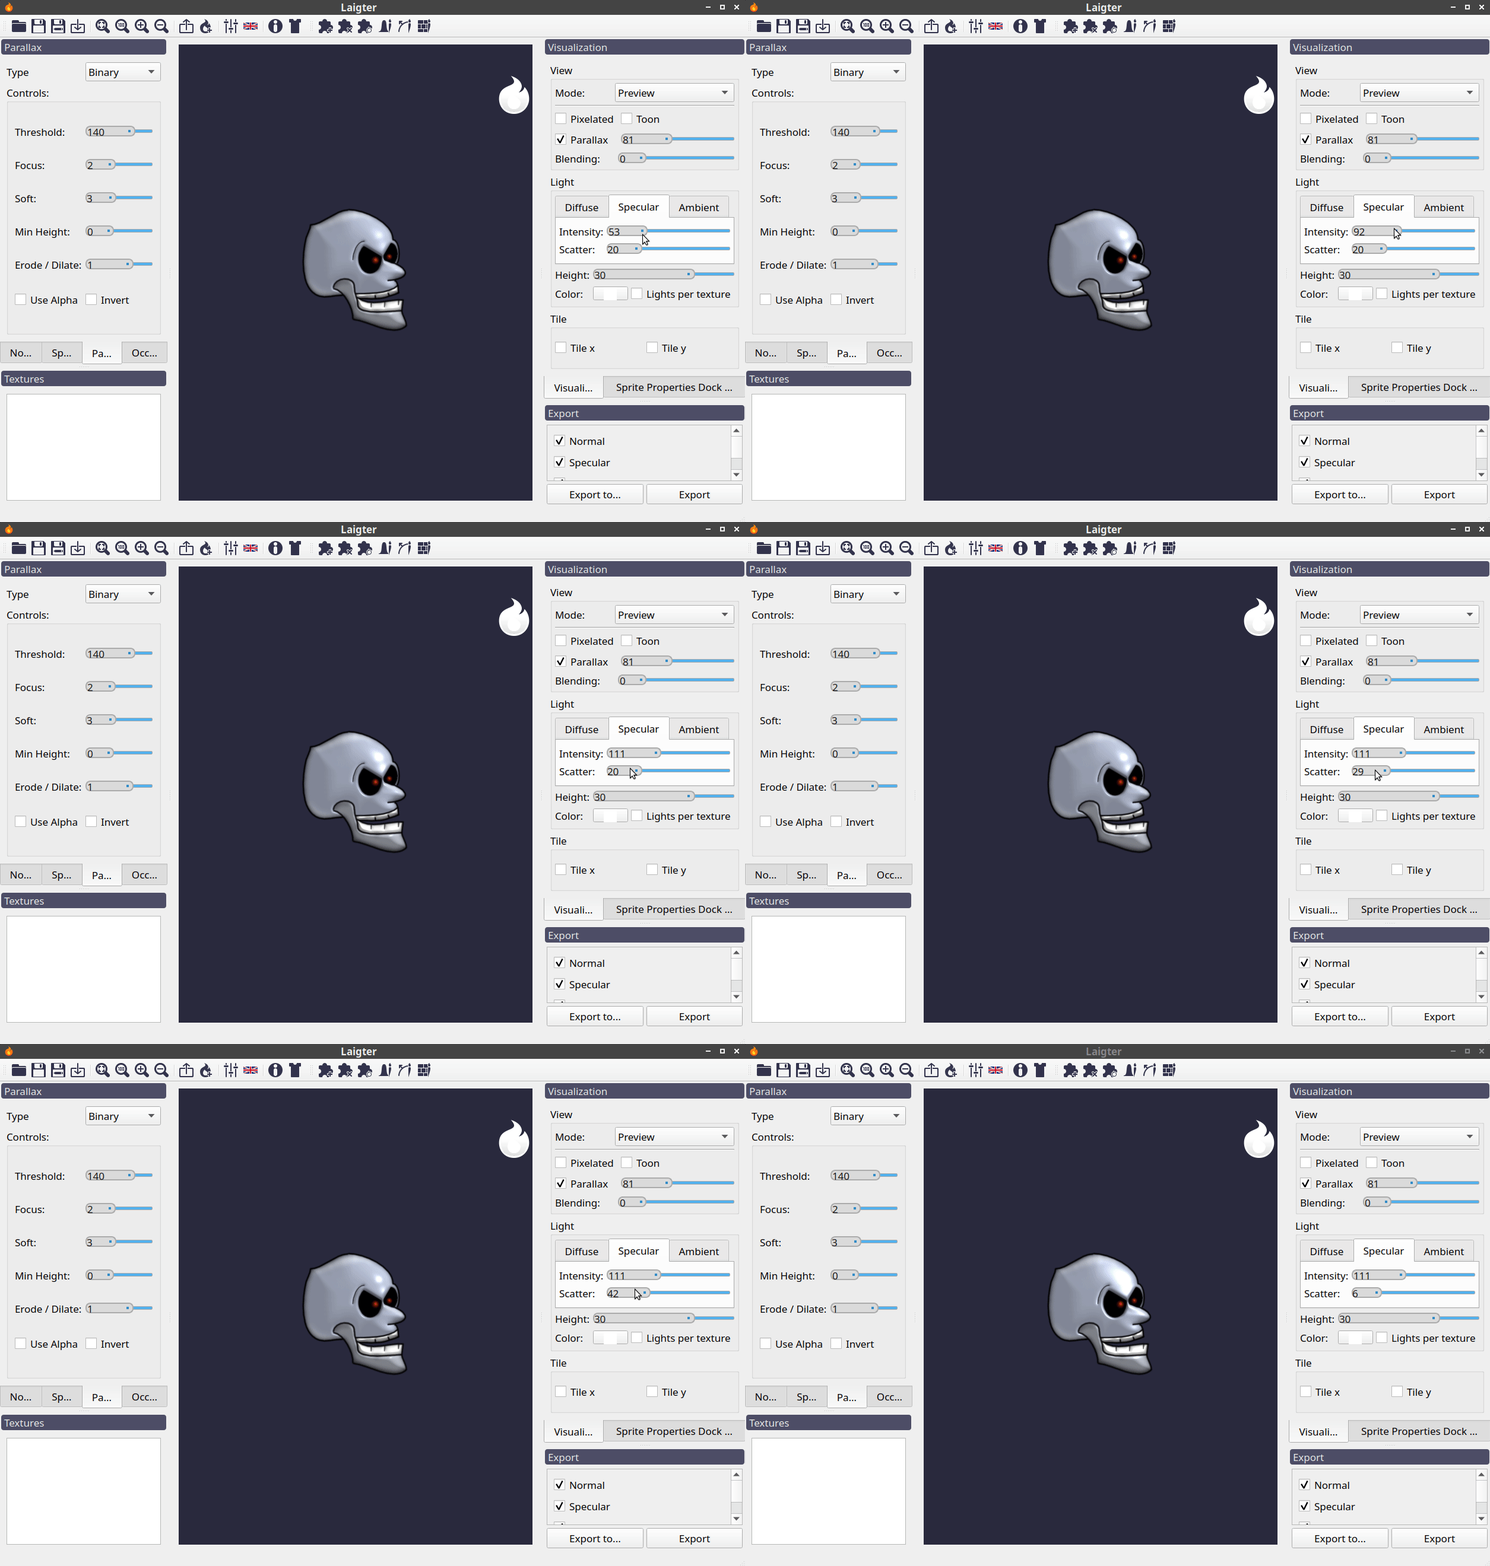
Effect of changing settings of specular component of the light source.
Ambient Light Controls
In this group of settings, you can change the intensity and color of the ambient light, and the color of the background of the preview. Think of amient light as an uniform light that is present in all the scene.
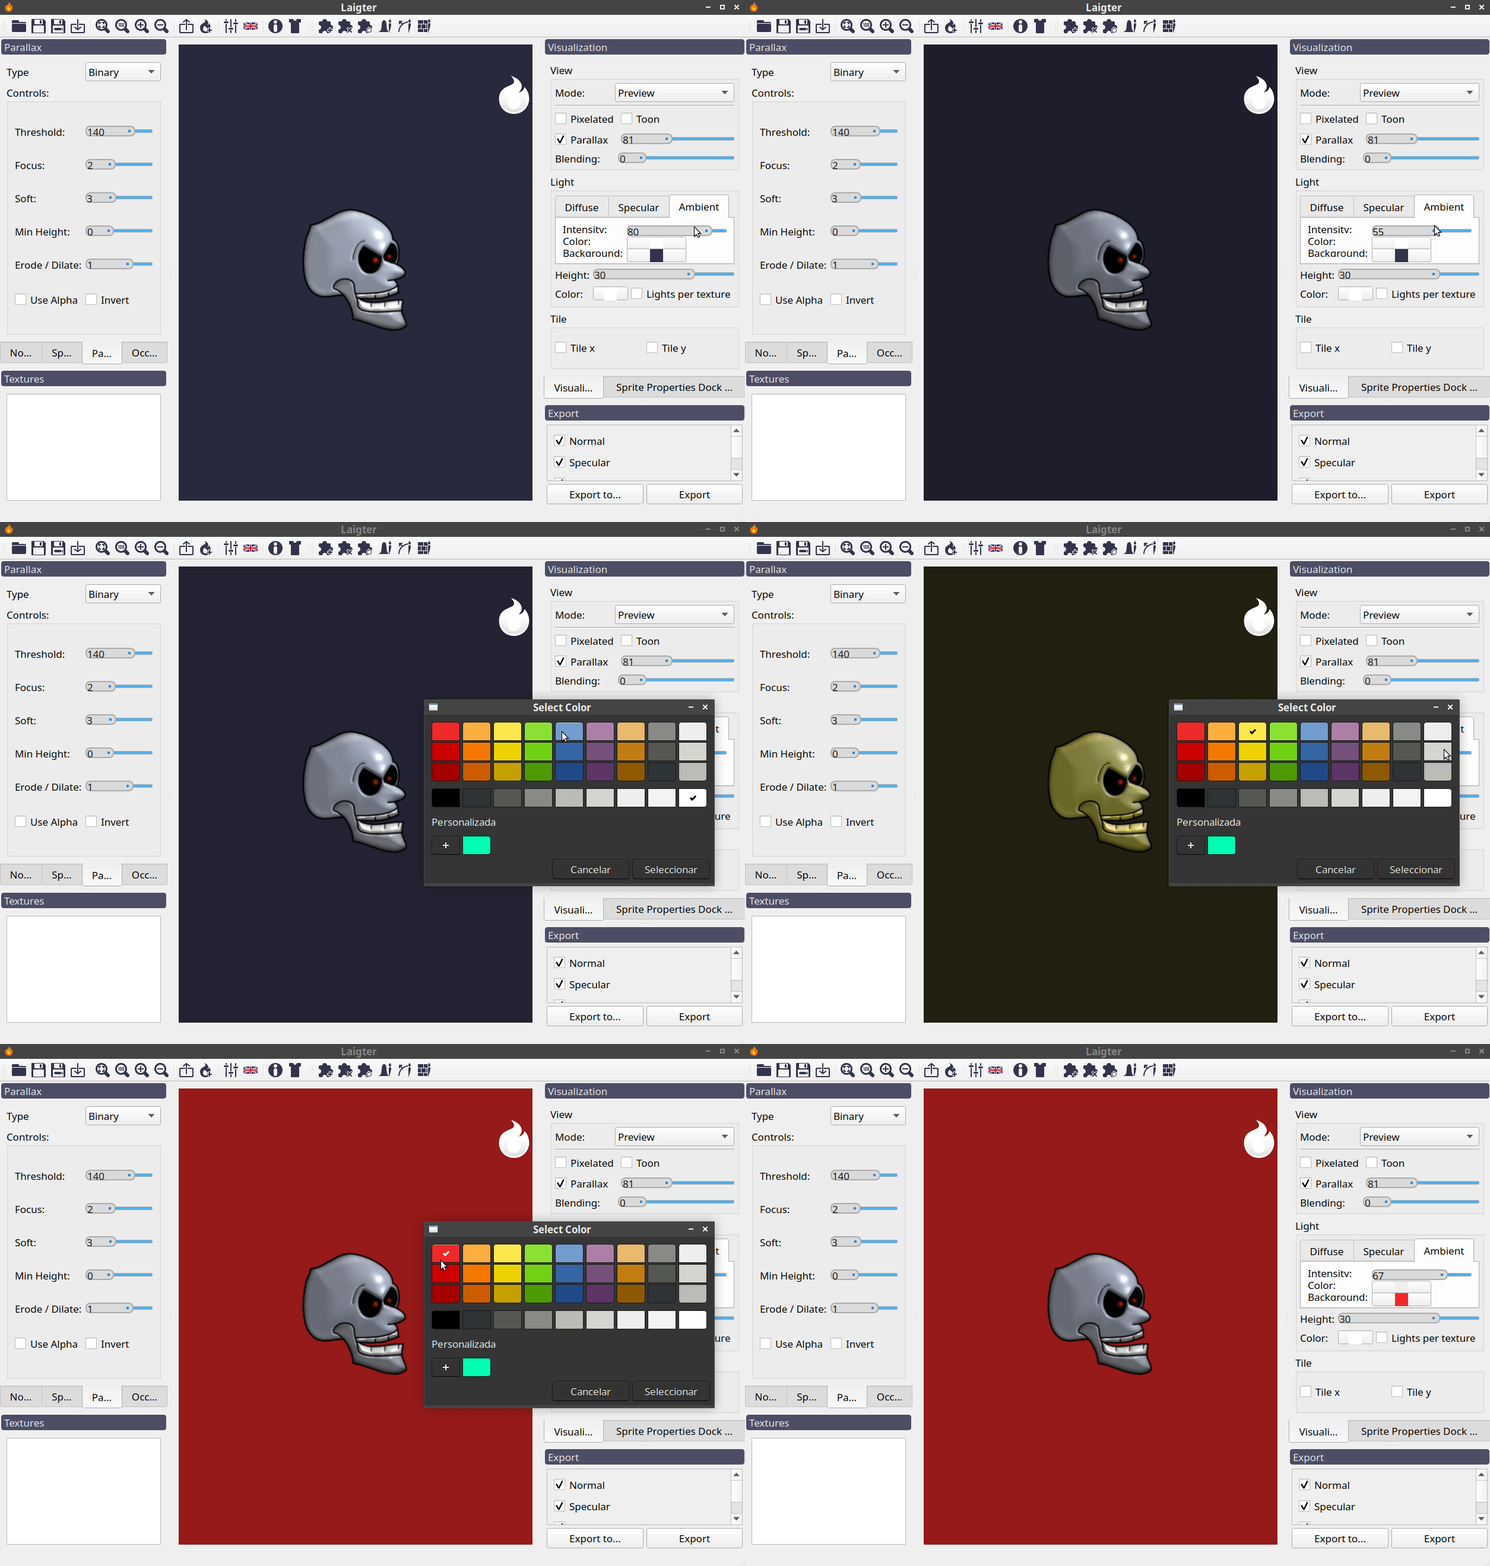
Effect of ambient light settings.
Light Color
This button just opens a color-picker, so you can choose a new color for the selected light source.
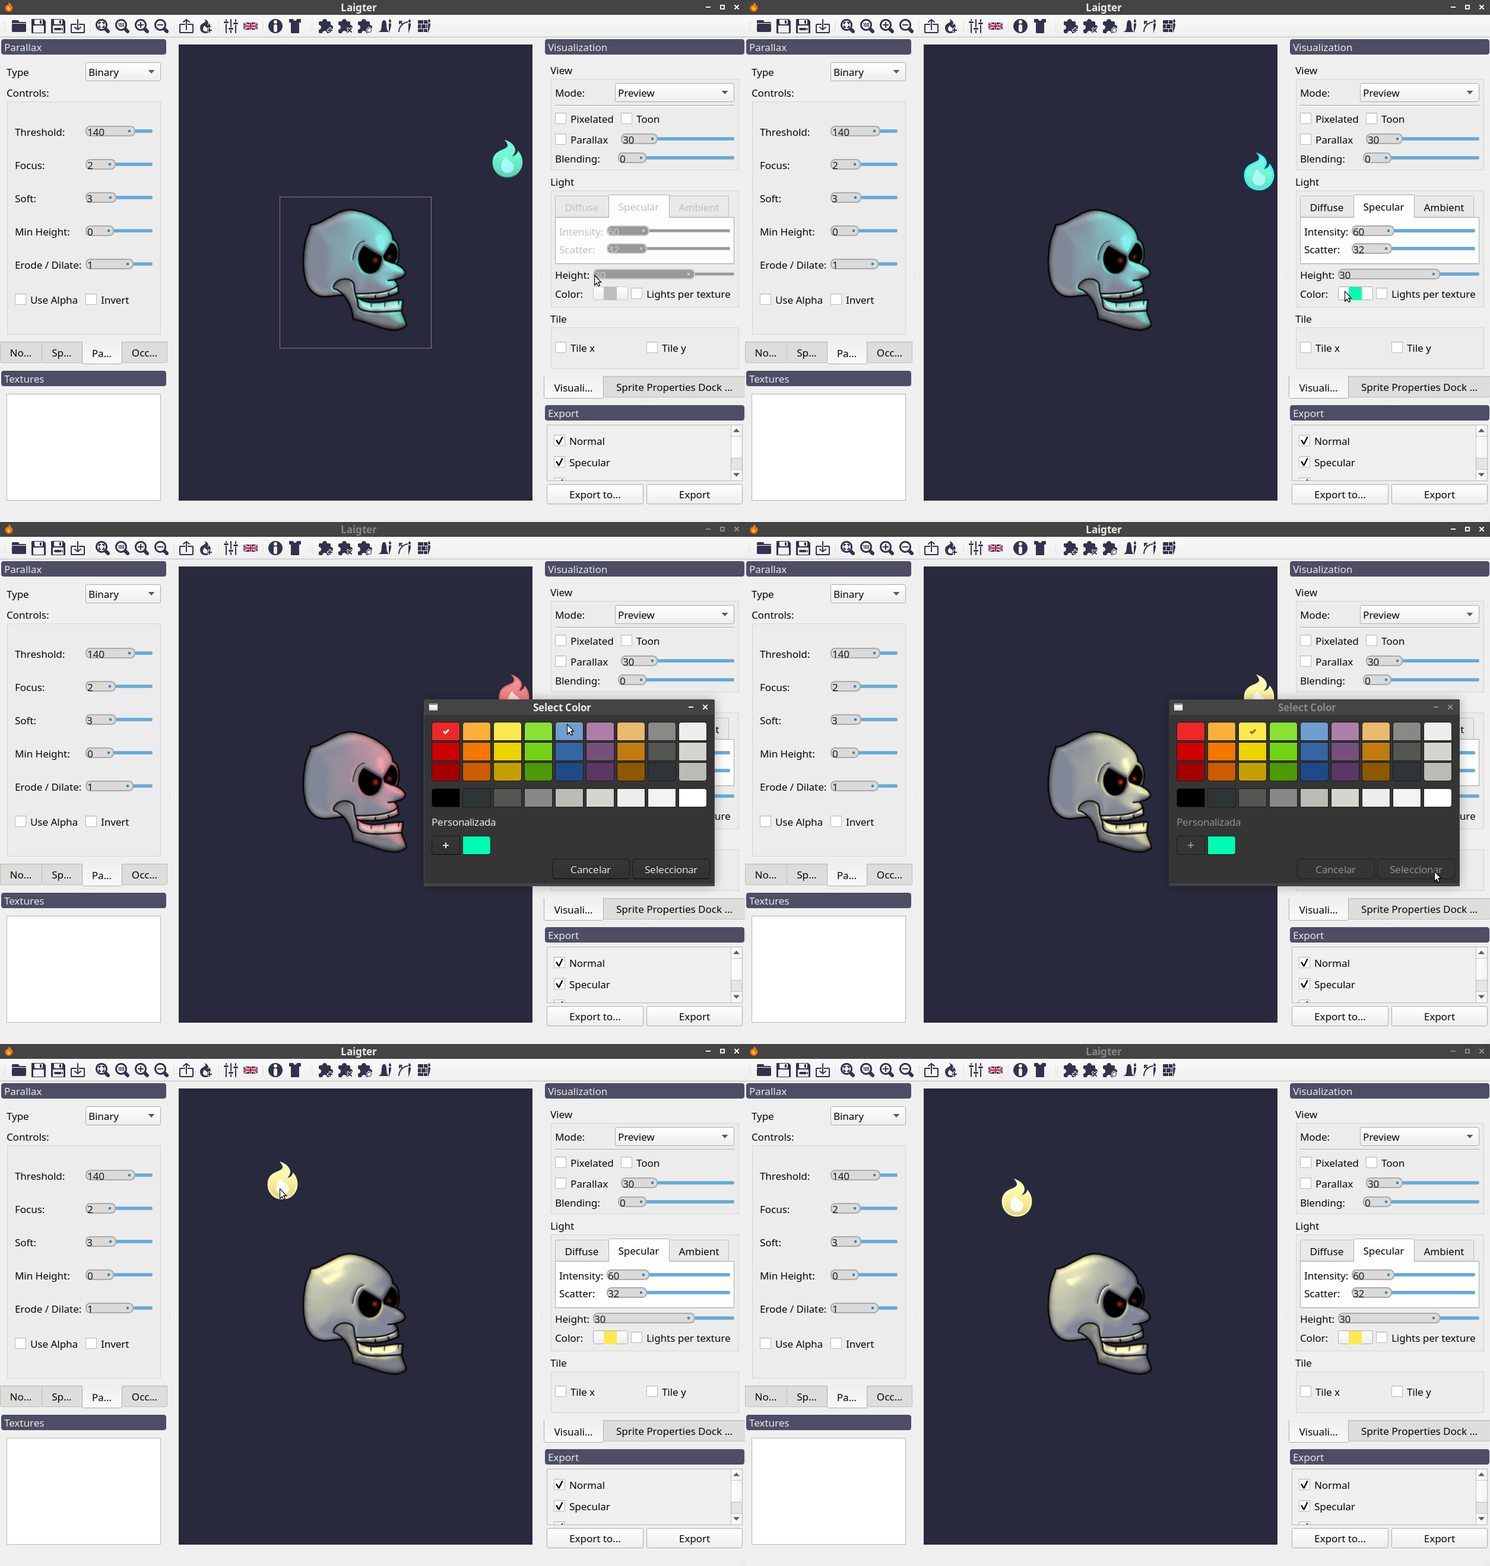
Changing color of selected light source.
Light Height
This settings affect where in the z-axis should the light be placed. If we imagine the canvas as a plane where all the textures are rendered, the height of the light is how far is the light from this plane.
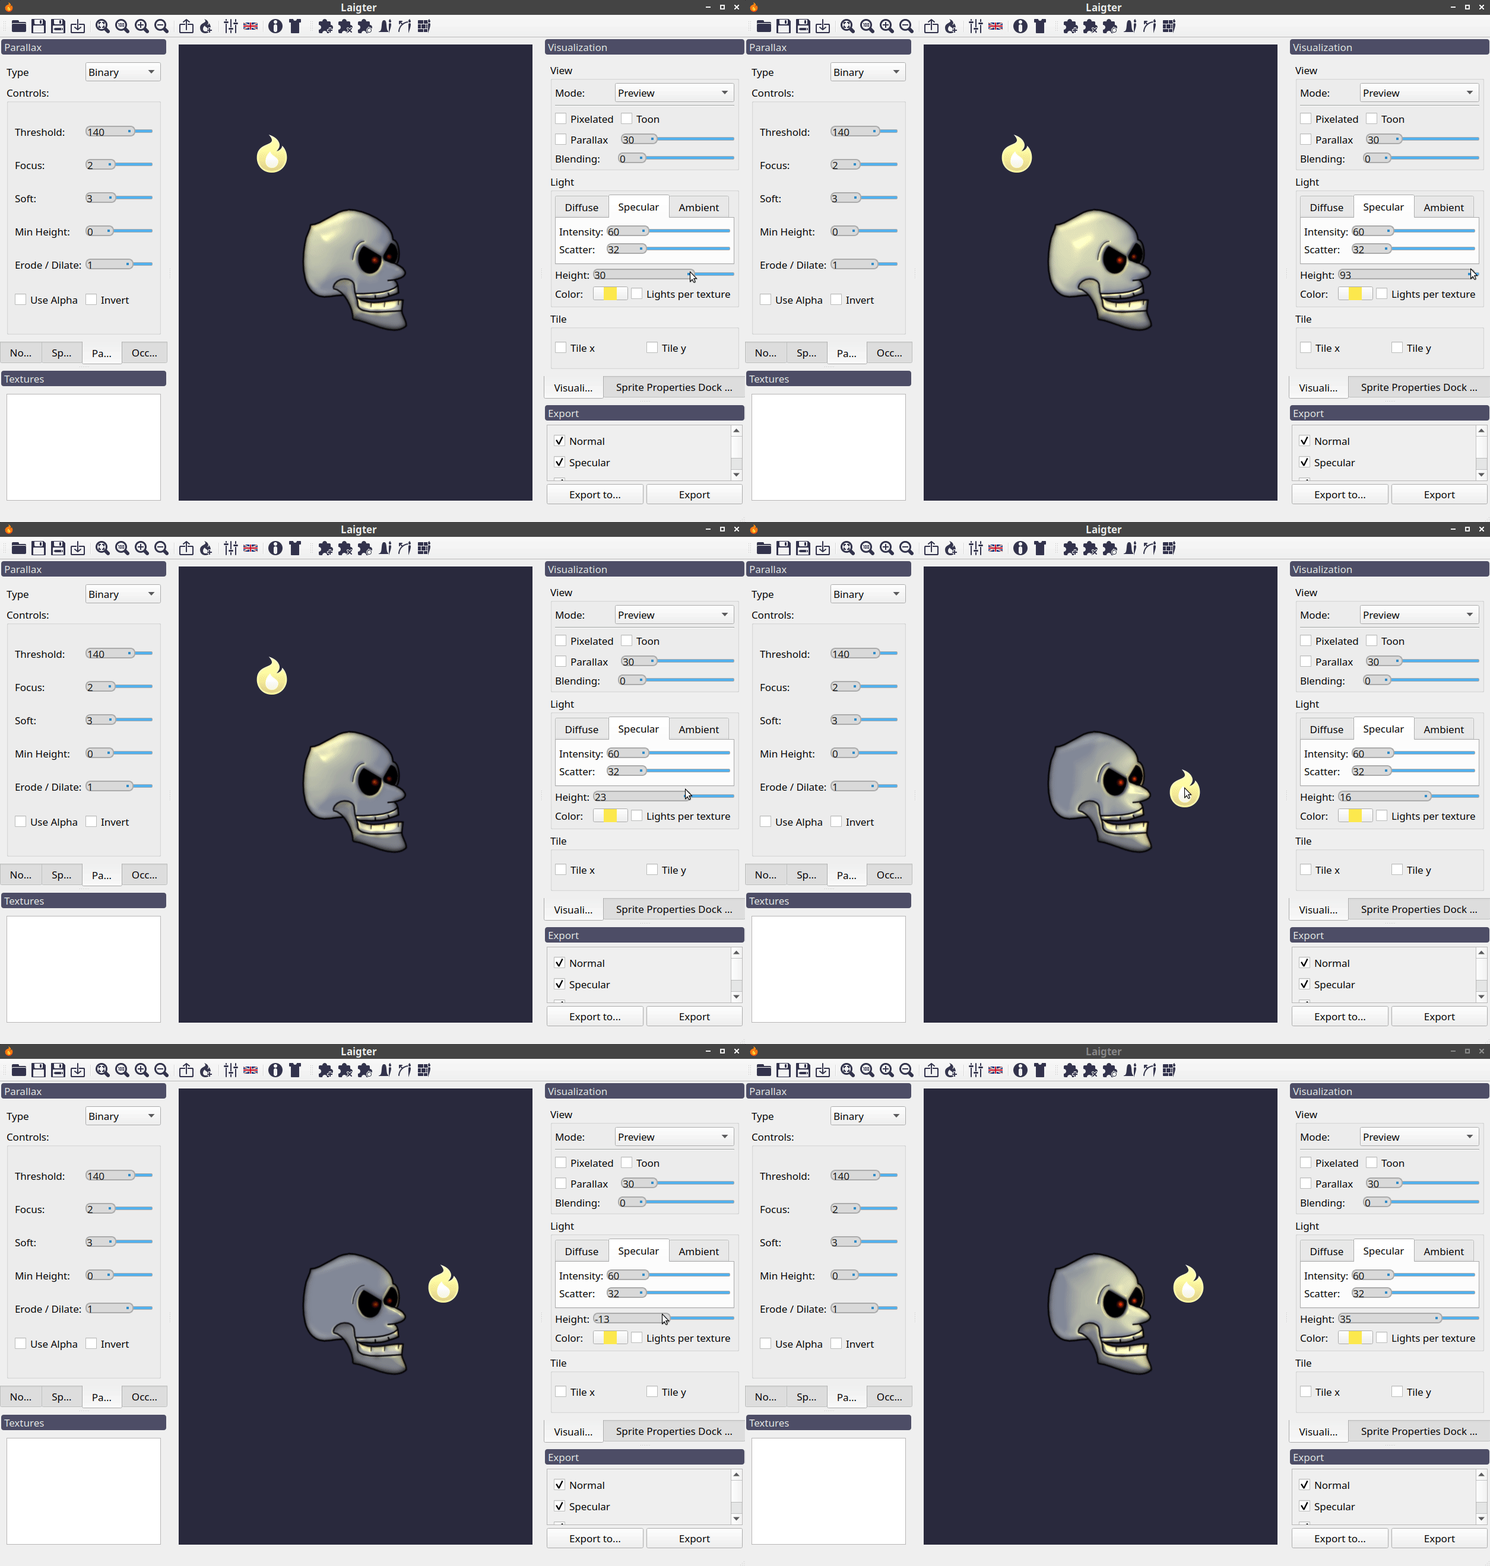
Changing the height of a light source.
Lights per texture
Usually, having light sources that affect all sprites is enough. But sometimes, for mockup purposes, it is useful that each texture retains its own lights sources and settings.
If you have this option checked, selecting a texture will also recover the light settings that were configured the last time that texture was selected. This allows you a flexible way to have different lights on each sprite.
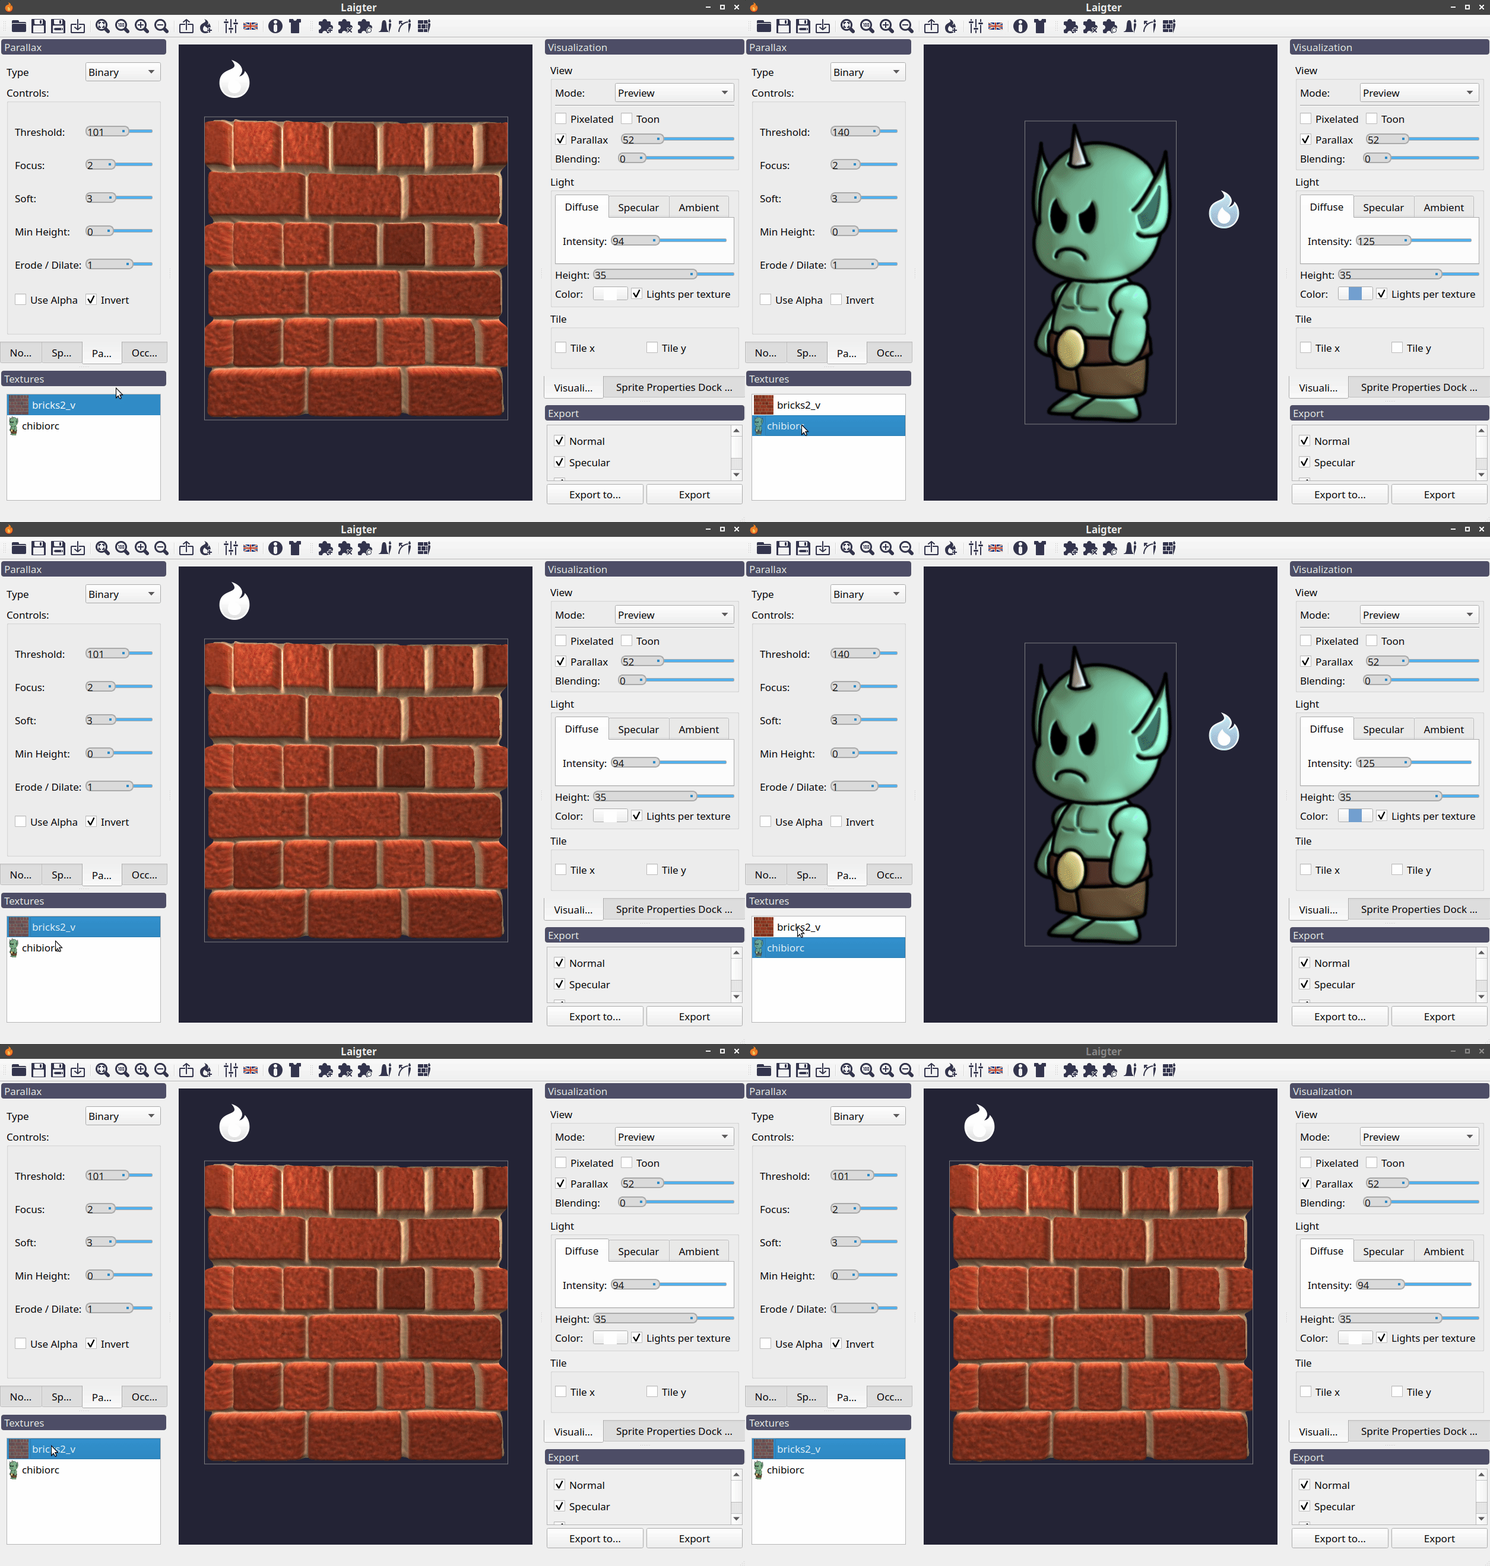
Changing textures with Lights per texture option enabled.
Selecting multiple textures with this option enabled will make all of the light sources for each texture to appear in the screen, and affect all sprites.
Selecting multiple sprites whit Lights per texture enabled.
Warning
When unselecting lights per texture option, Laigter will use default lights. This lights are those created and modified when the option was unselected. So changes you make to lights with lights per view enabled will not be present in the default lights when disabling that option.
Adding and removing lights
Laigter also lets you add multiple lights to the same scene. This is done with the Add Light toolbar button.
The Add Light button is a toggle button. When pressed, you enter in add-light mode. Left-click on the canvas will add a light in the position of the click, and right-click on a light, will remove it from the scene. You can exit the add-light mode by unpressing the Add Light button, or by right-clicking in the canvas (i.e right-click anywhere in the canvas where there isn’t a light source placed).
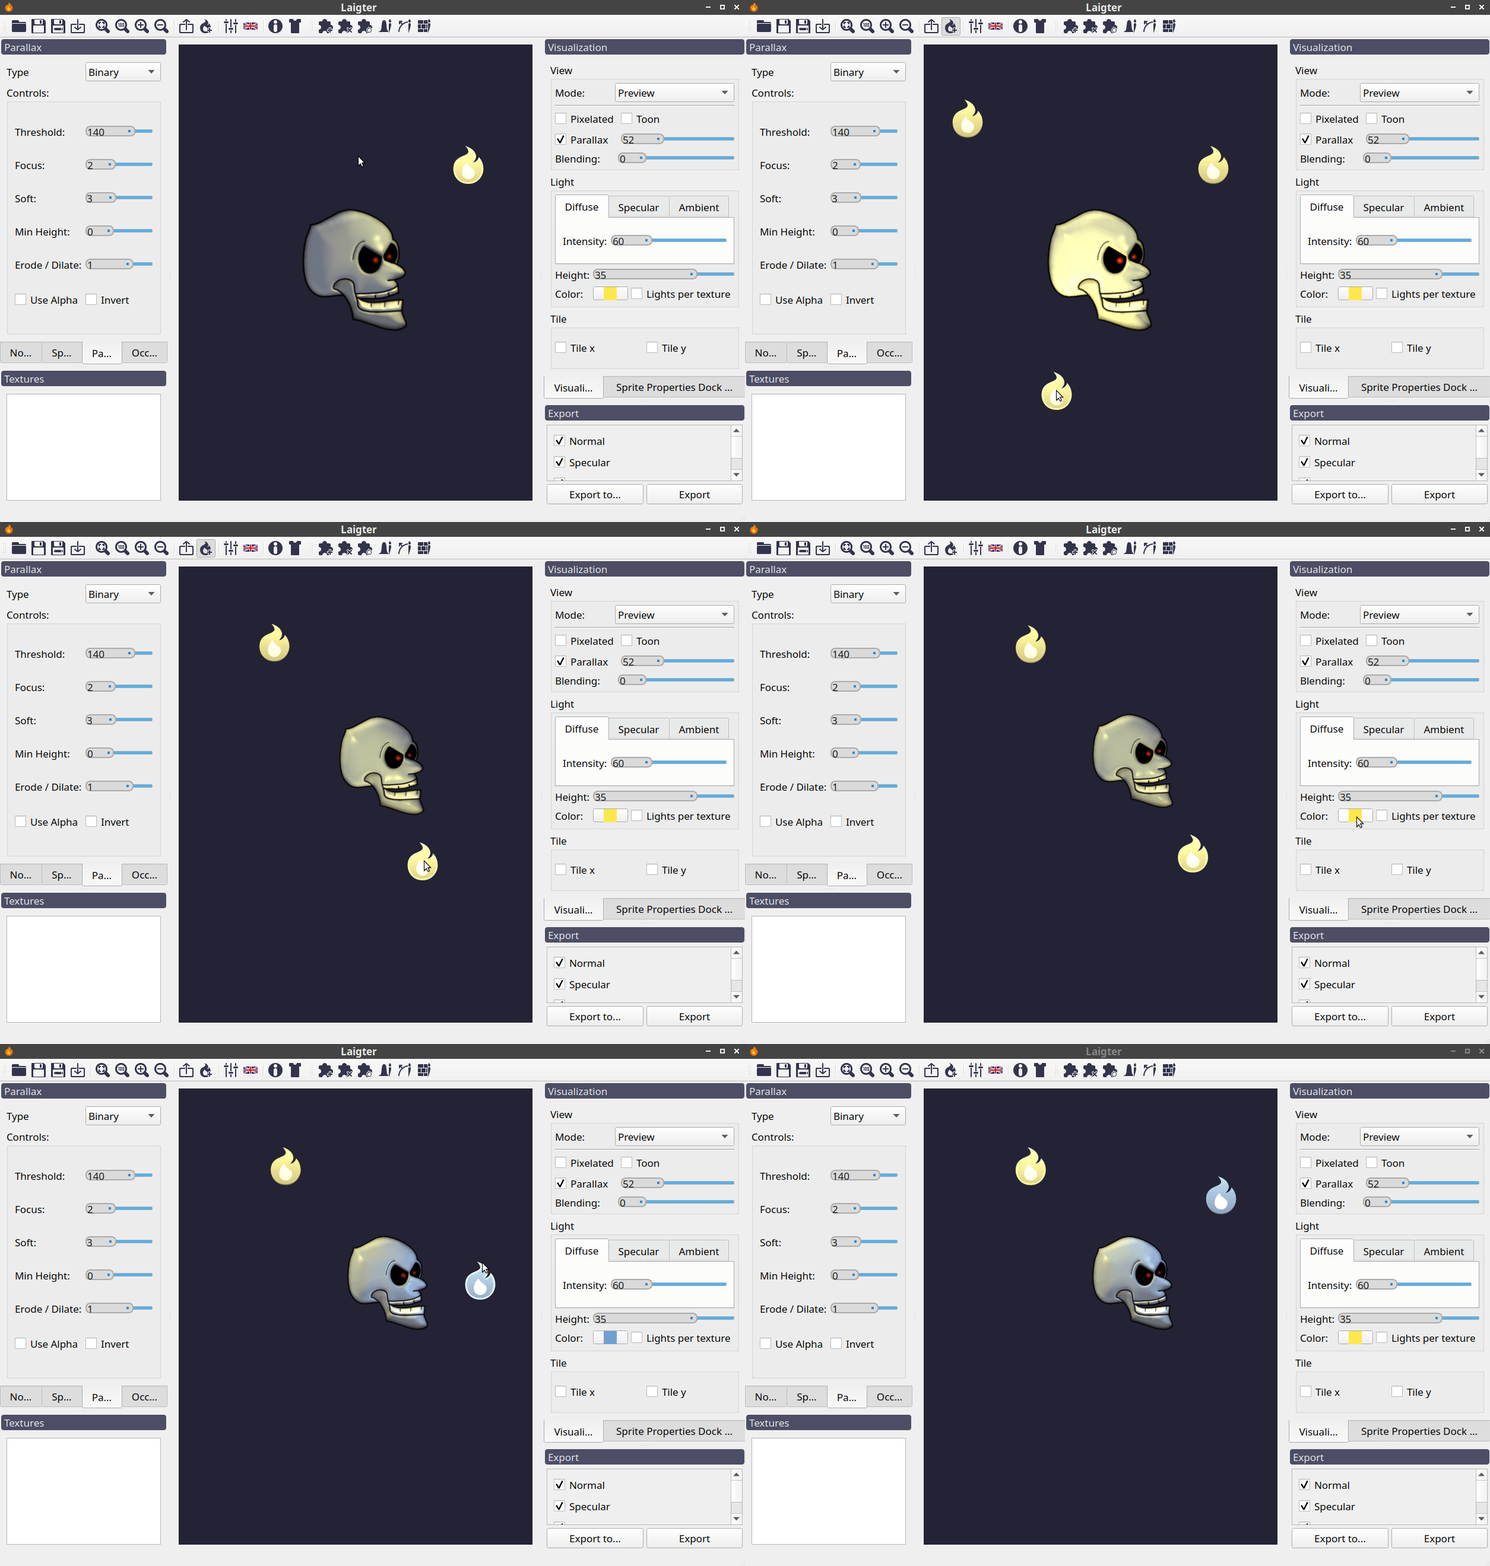
Adding light sources.
Every new light will use the same settings of the last light selected. You can change the settings afterwards by selecting the light you want to tweak, and modifying the controls explained above in this document.
Note
Add Light button will only be enabled if you are in preview mode, as you cannot see lights in other modes.
Warning
Adding a light with lights per texture will only add that light to the currently selected sprite, and thus, it will not be visible when selecting other sprite.